TP 79 1/72
Overview
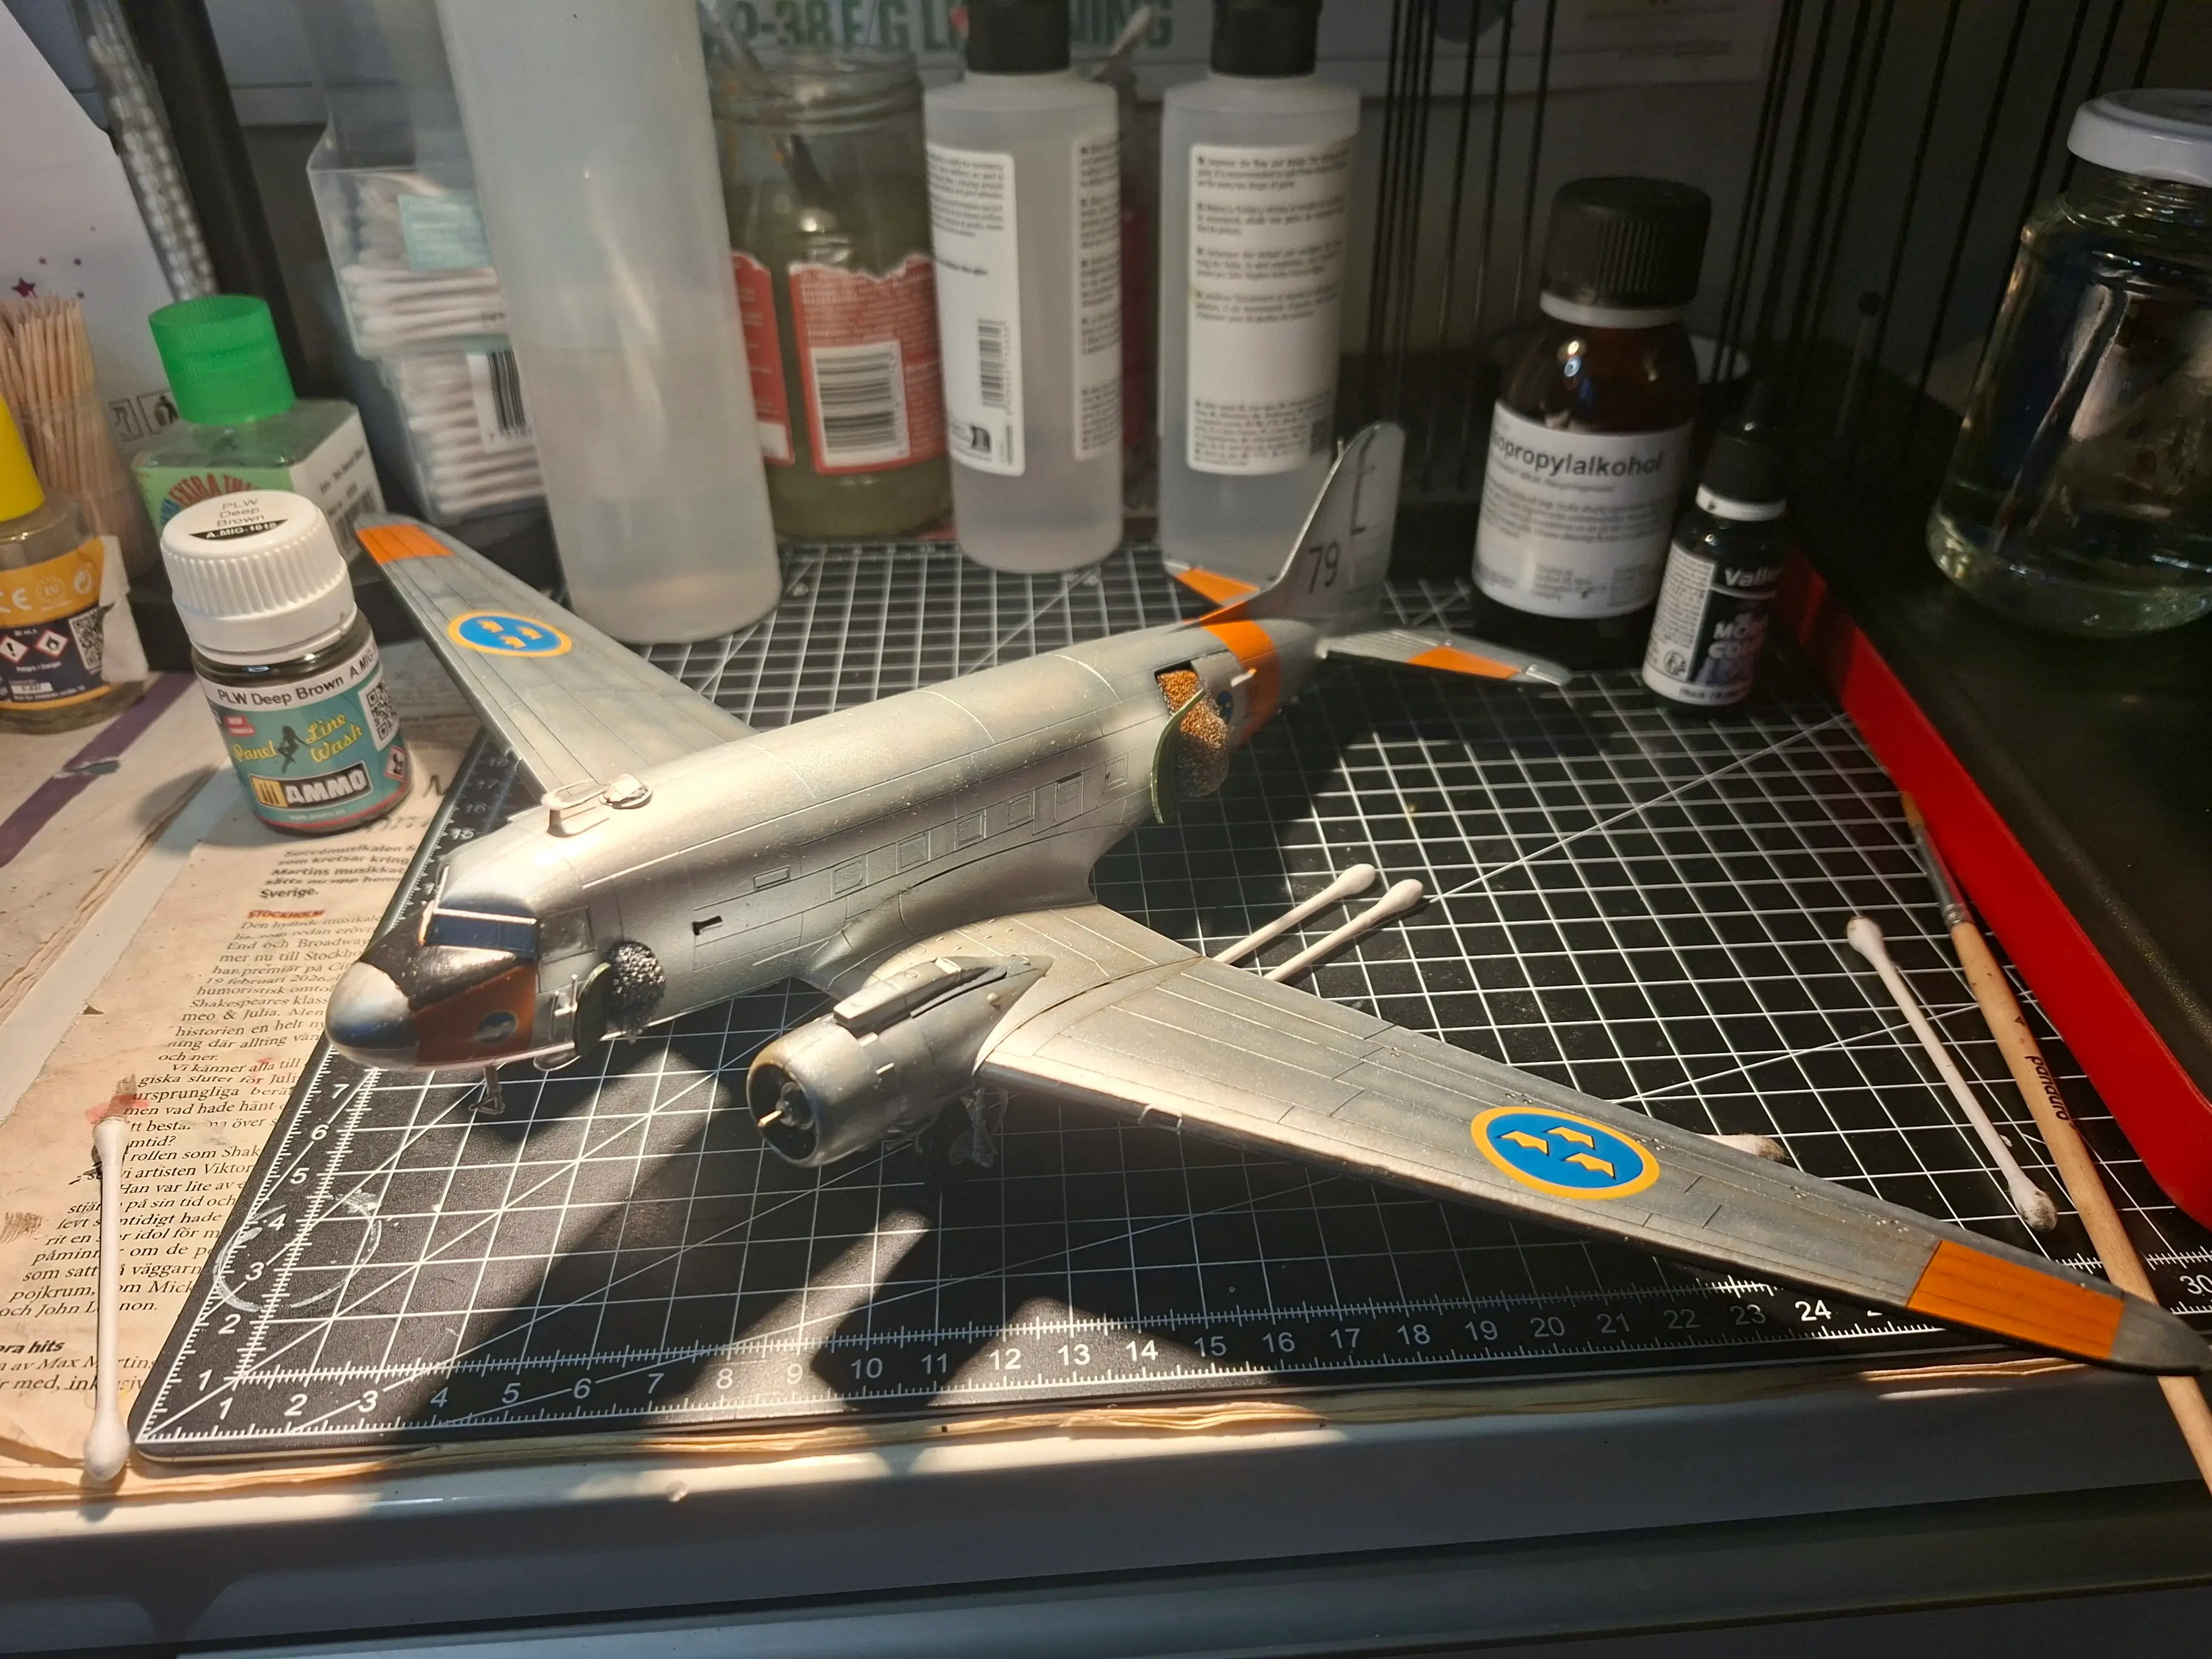
This build started in september. I bought an Airfix Douglas Dakota Mk.IV 1/72 kit secondhand on a whim. Initially I was planning on building one of the variants included with the box, but after a visit to the Flygvapenmusem (air force musem) in Linköping, I decided to “convert” it to a TP79 instead.
The kit is not the best I have ever built, both in terms of my skill and the kit quality (bent parts on the sprue for example), but there are some highlights. The panel lines, and (some of) the details are well defined.
History
The Swedish Air Force designated the Douglas DC-3 as TP 79, adopting the type beginning in 1948 and operating eight aircraft in a wide range of roles. Several TP 79s were configured for advanced signals intelligence in cooperation with FRA, and these aircraft became crucial assets during the Cold War - effectively serving as producers of one of Sweden’s most important “exports” to the West at the time: high-value intelligence on the Eastern Bloc. One intelligence-configured TP 79, 79001, was shot down by Soviet fighters in 1952 during a reconnaissance mission over the Baltic Sea, an incident that triggered a diplomatic crisis and the subsequent downing of a Swedish Catalina search aircraft.
 TP79s at Torslanda, Wikimedia Commons
Beyond their intelligence duties, TP 79s supported scientific research with FOA, paratrooper and radio-operator training, personnel and cargo transport, and various development and test activities. From the 1950s through the early 1980s, the TP 79 served as a versatile and dependable workhorse for the Swedish Air Force, also participating in UN and Red Cross missions abroad. As newer aircraft such as the C-130 Hercules entered service, the TP 79 was gradually phased out, with the final aircraft retired between 1981 and 1984 - ending nearly four decades of service.
Build
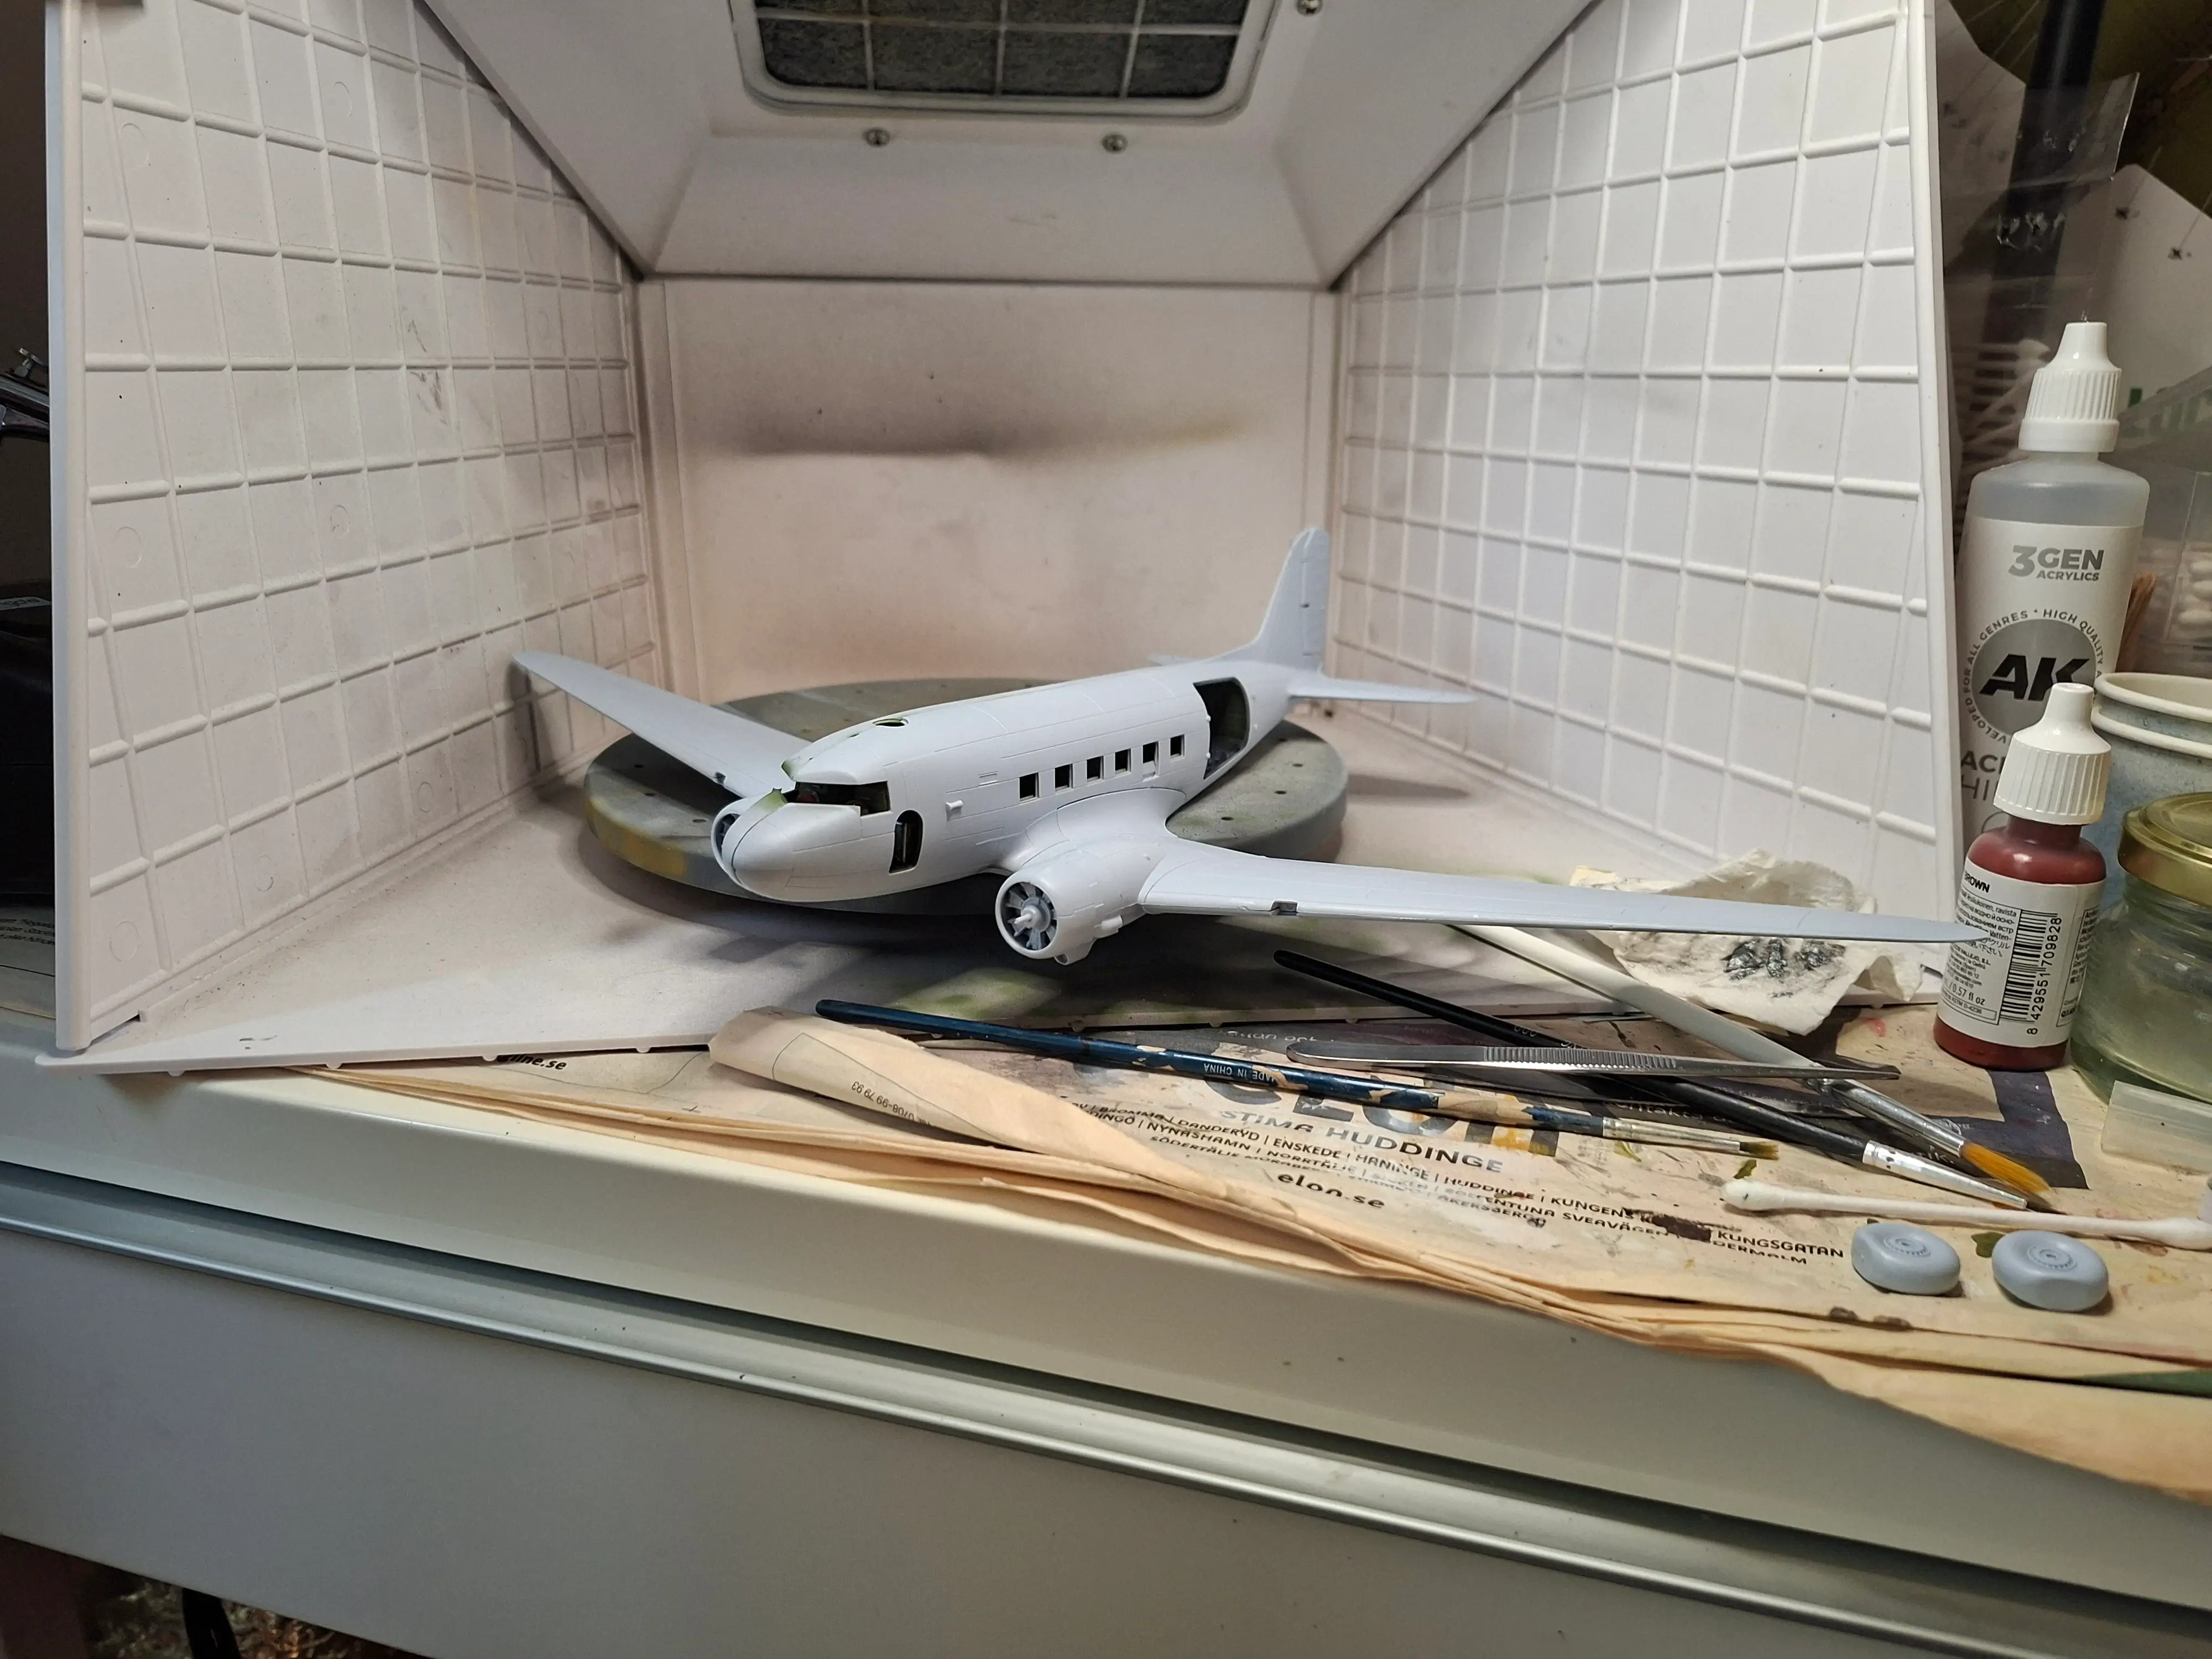
Below follows some images of the build. Unfortunately a lot of in progress images are missing. The build process:
- Build and paint the interior
- Build the main parts of the plane (excluding gear, props, doors etc.)
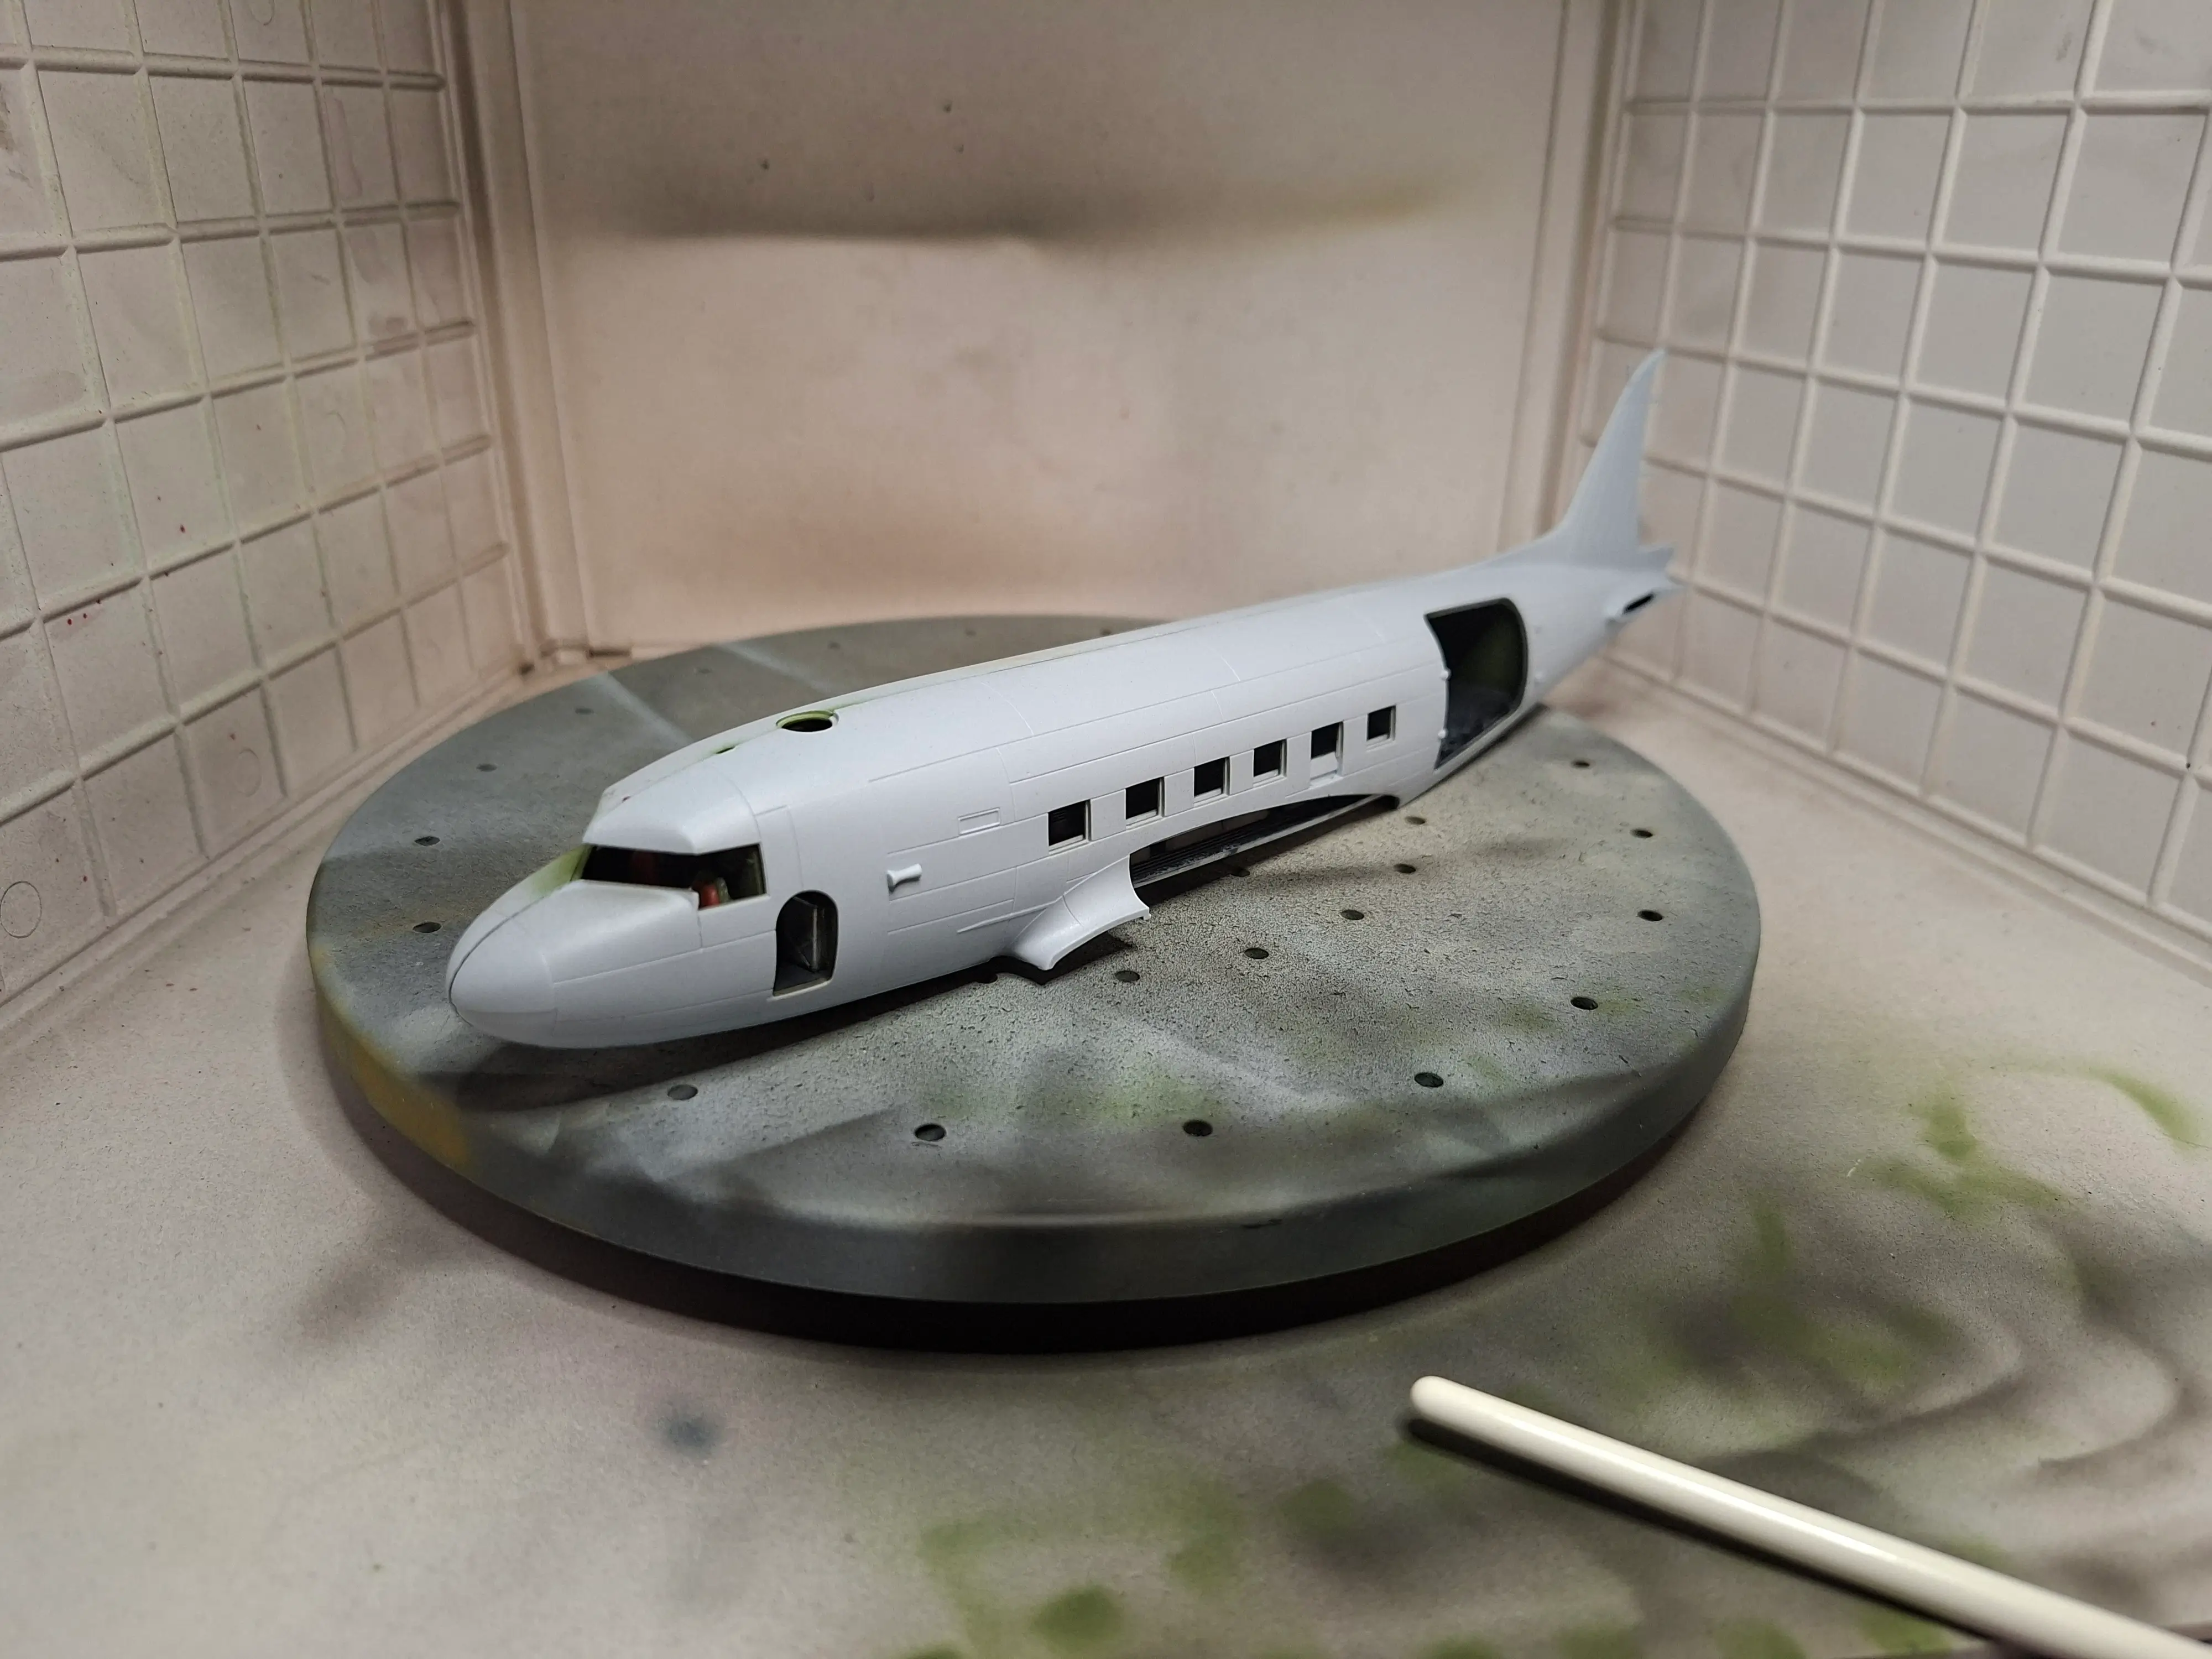
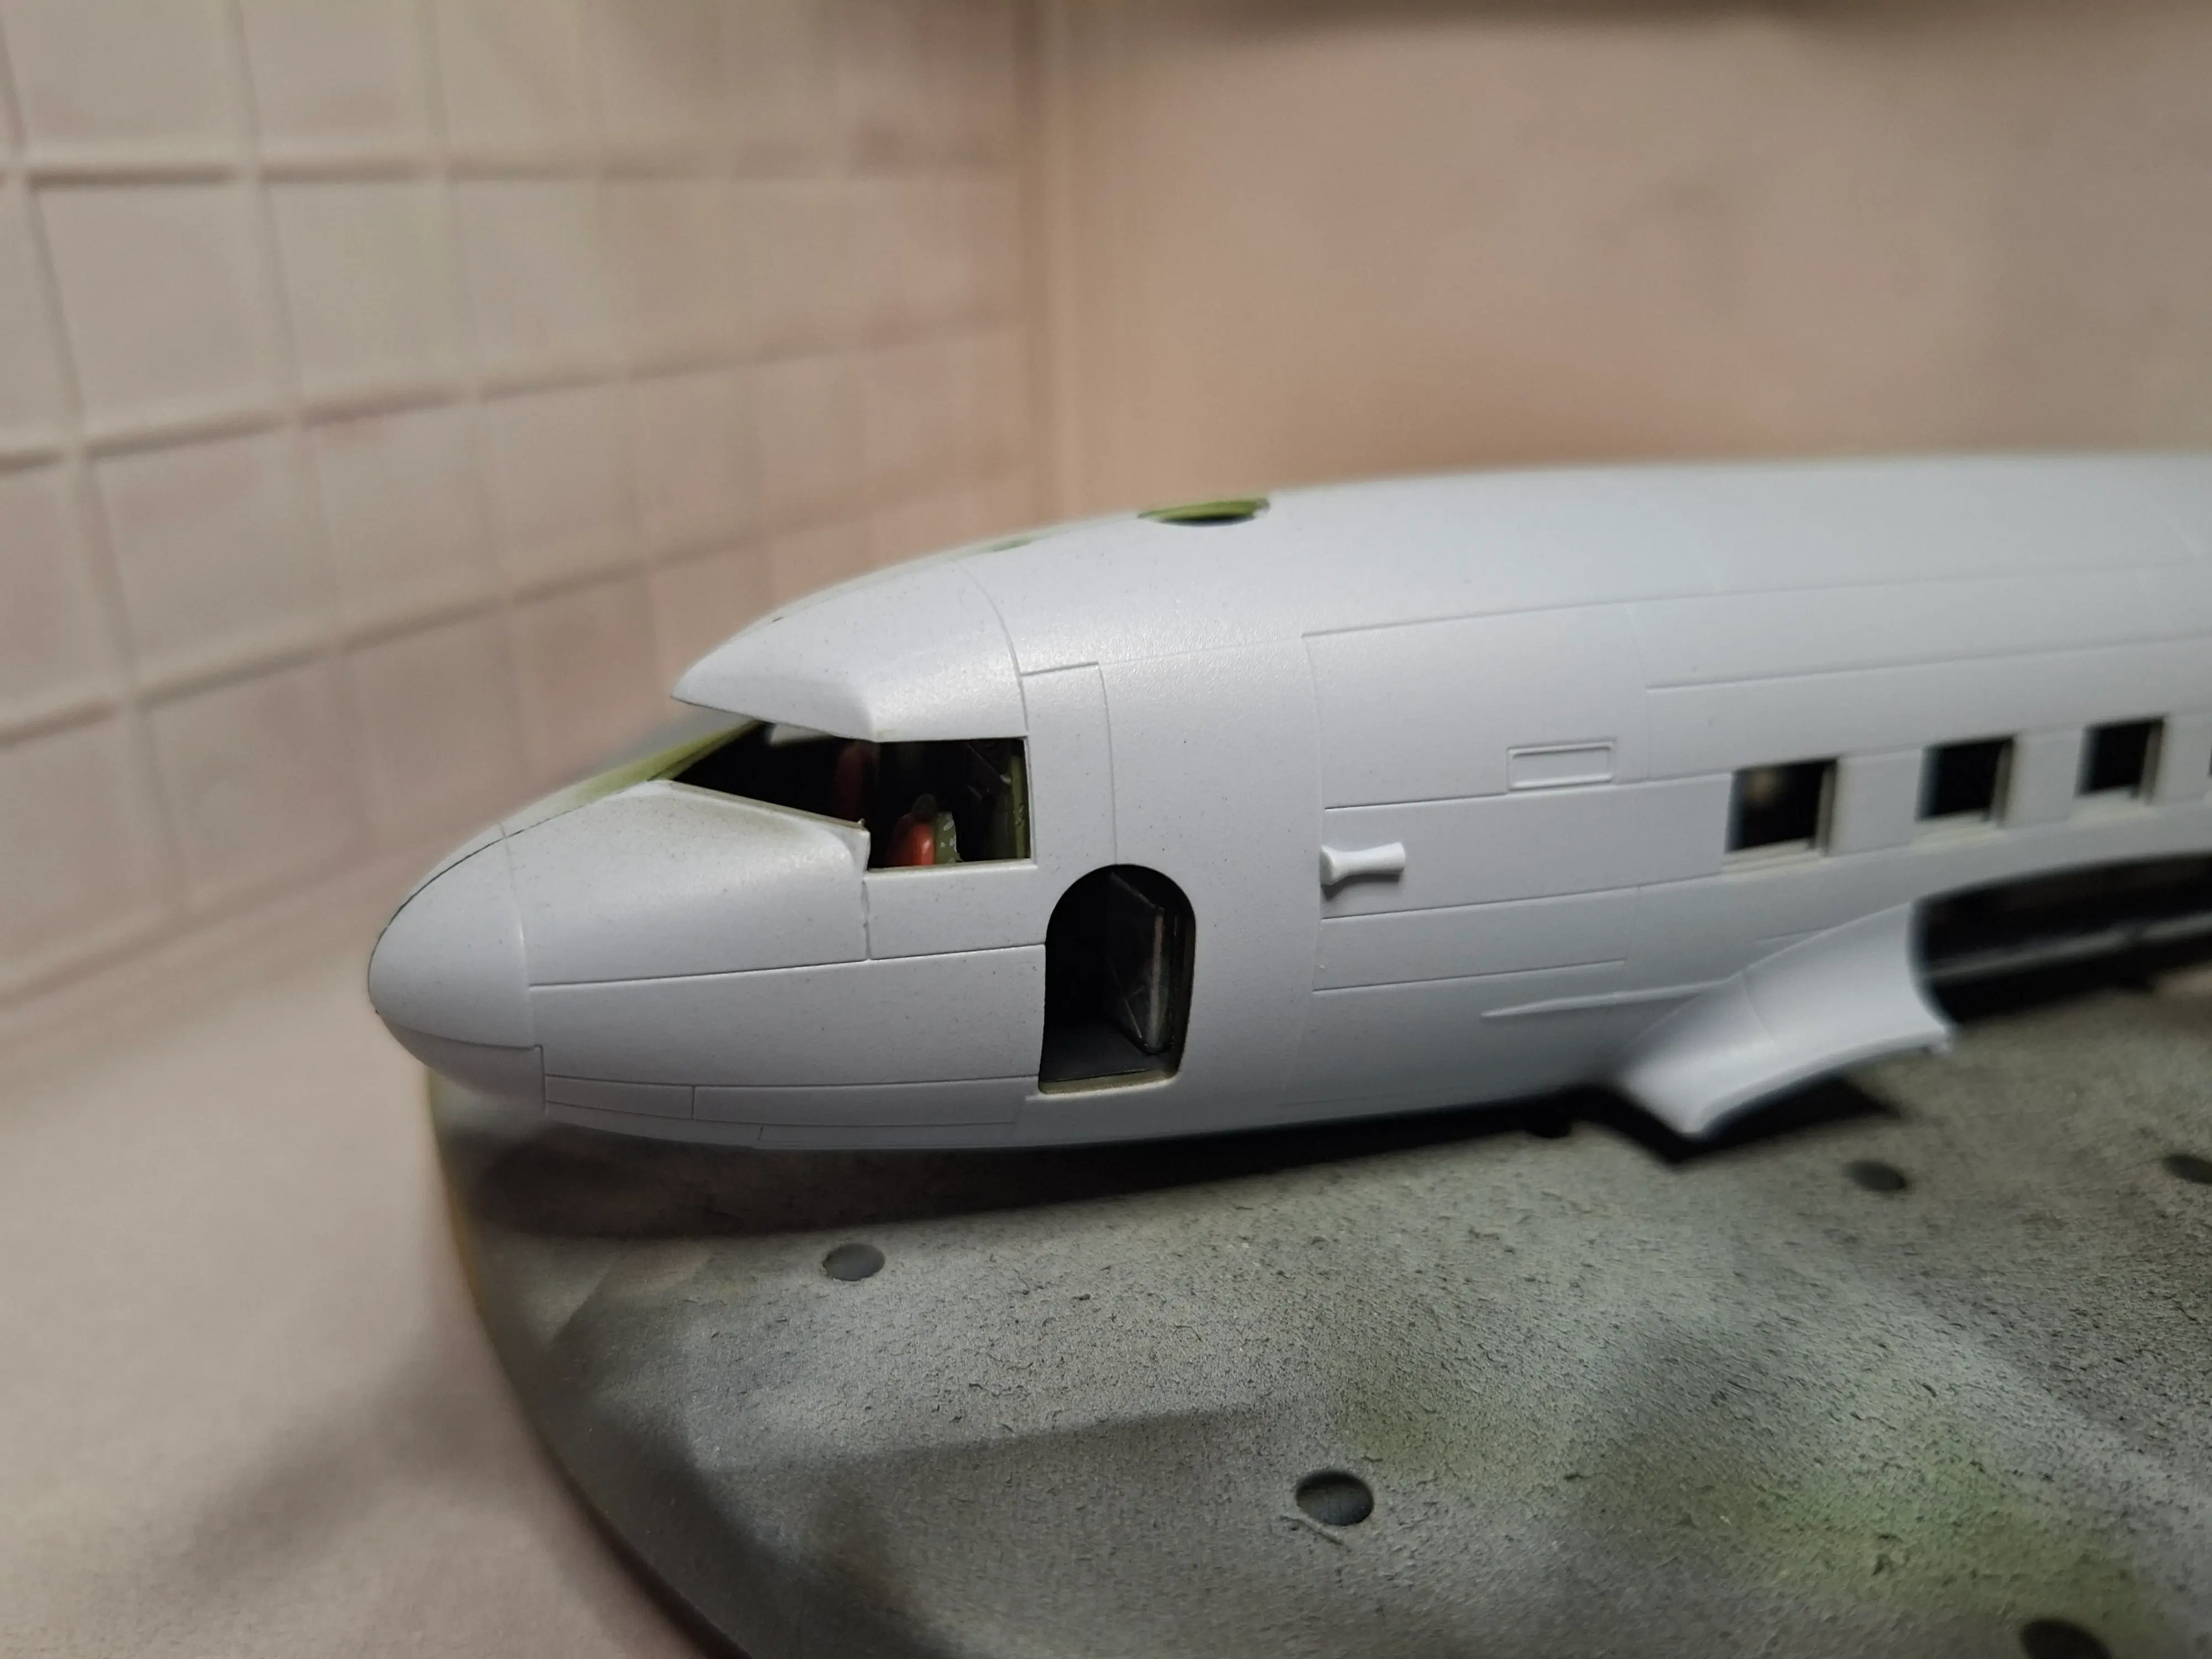
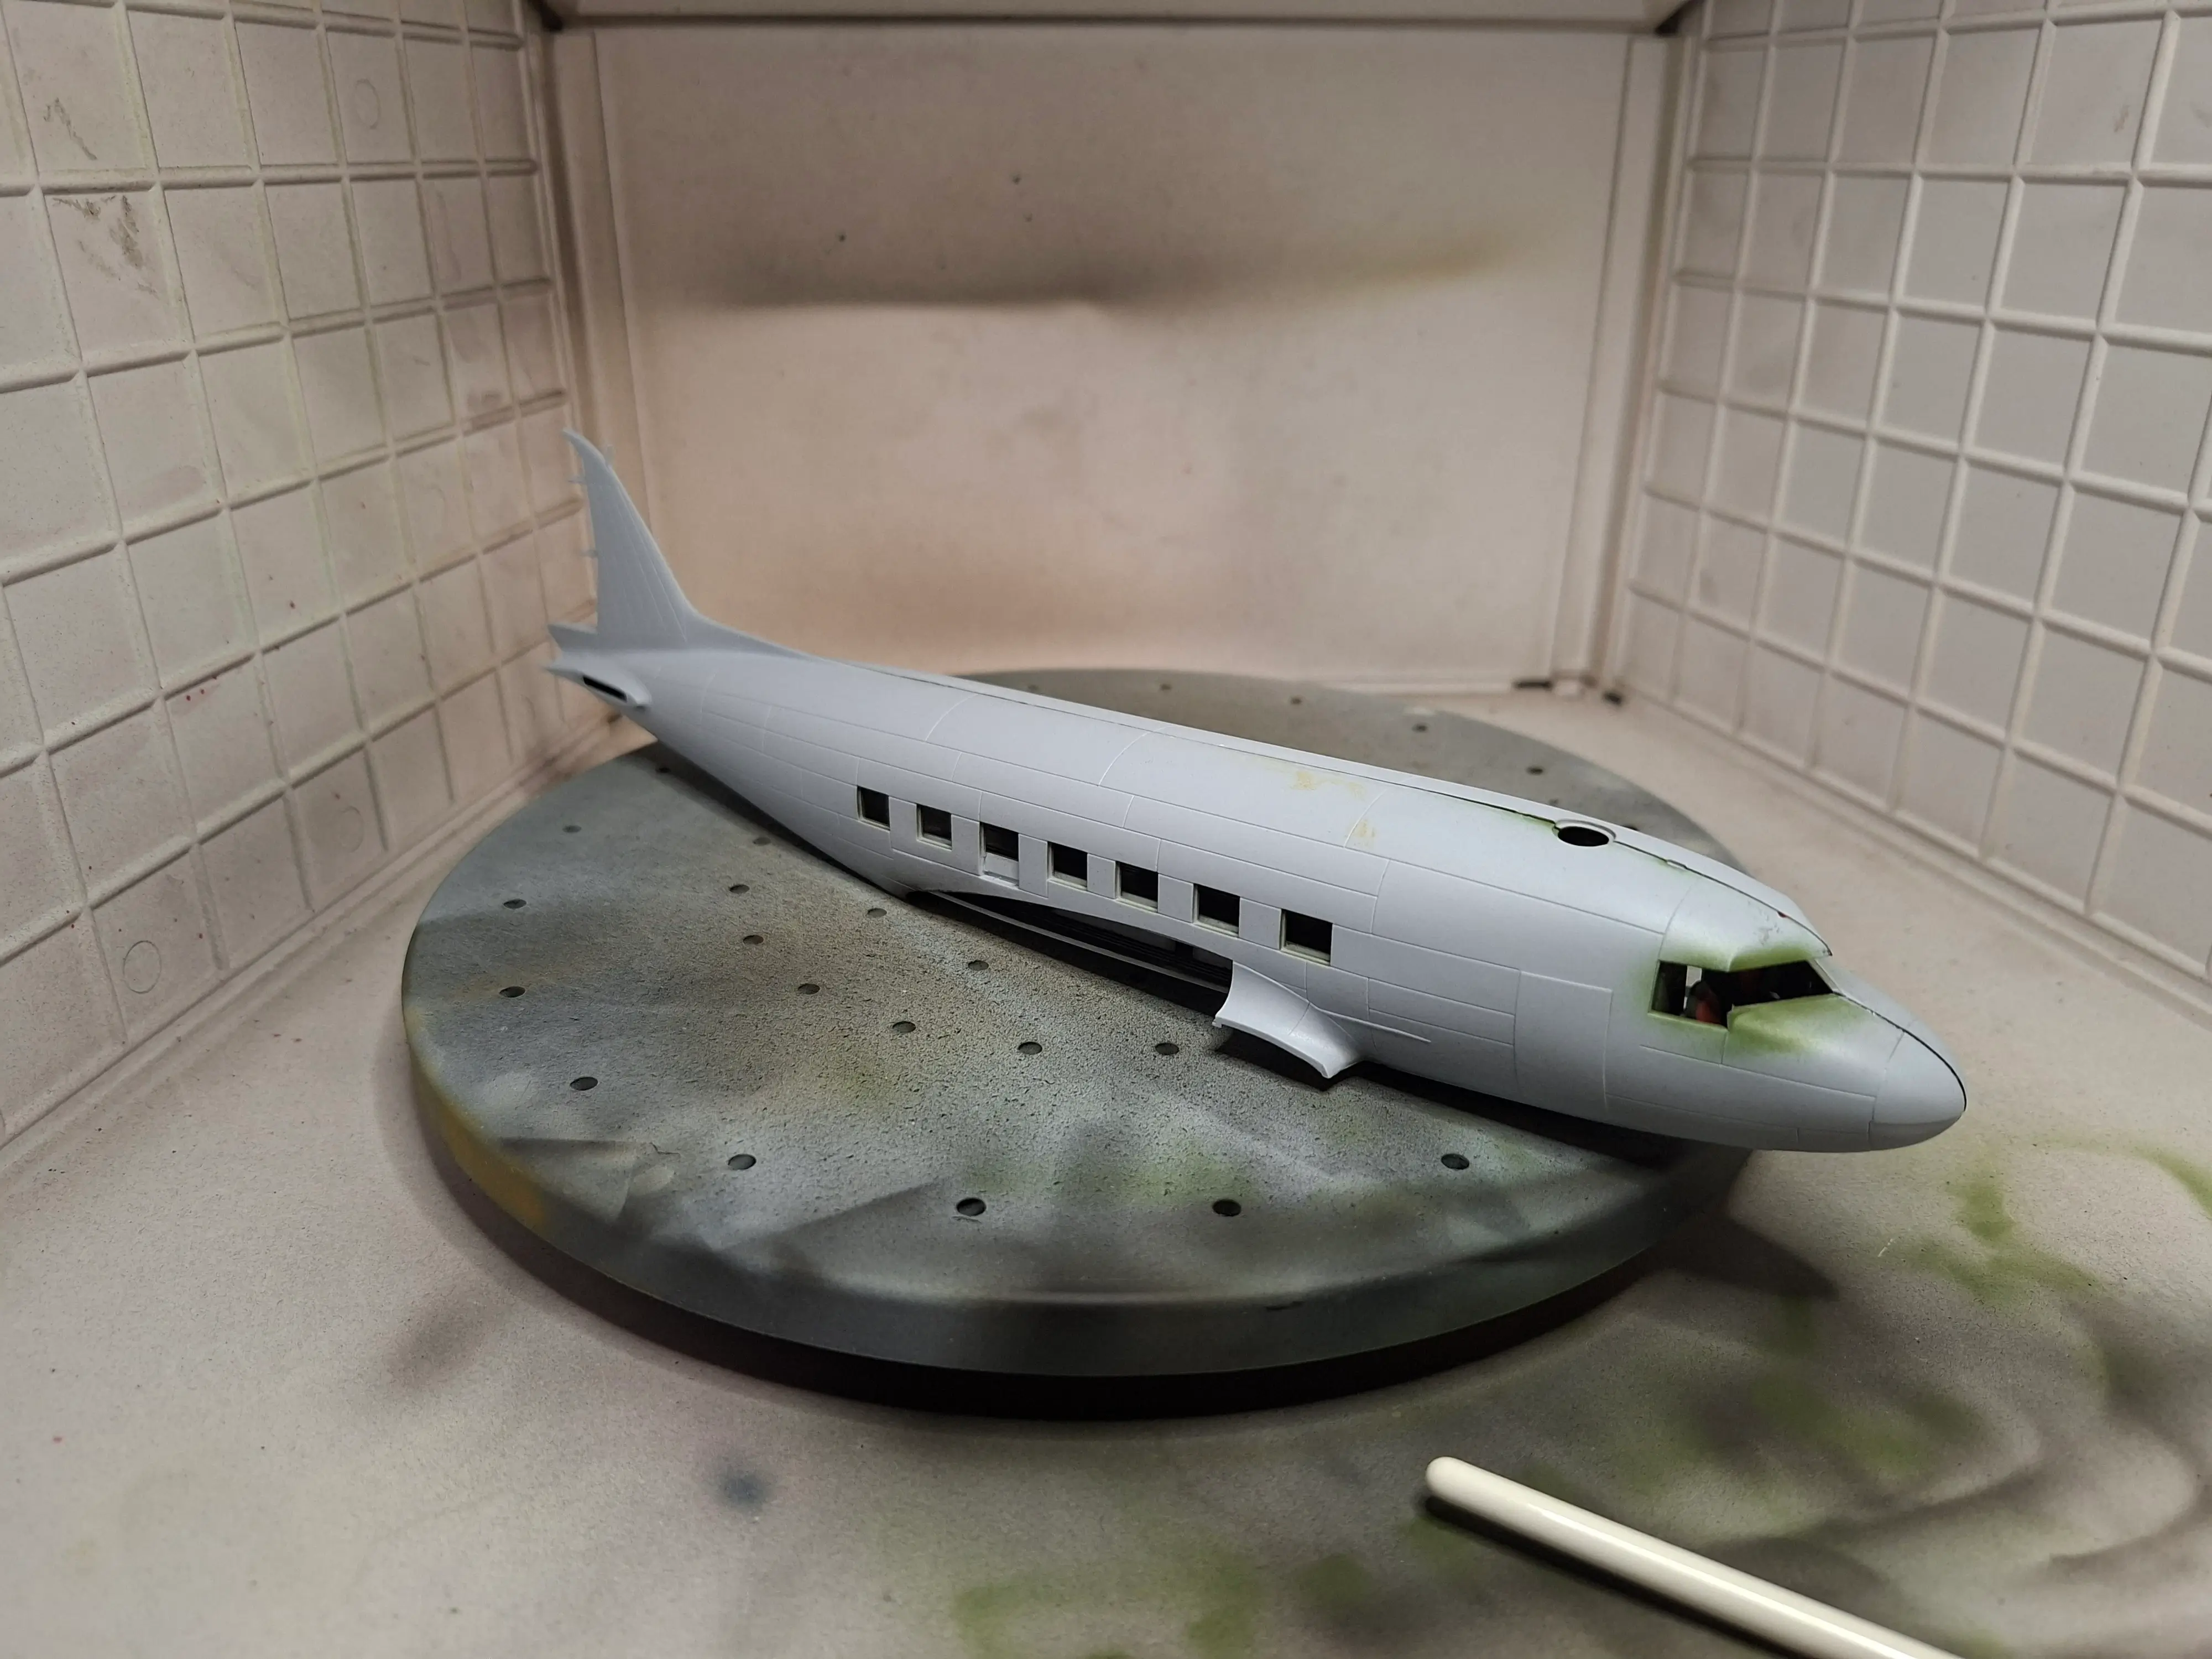
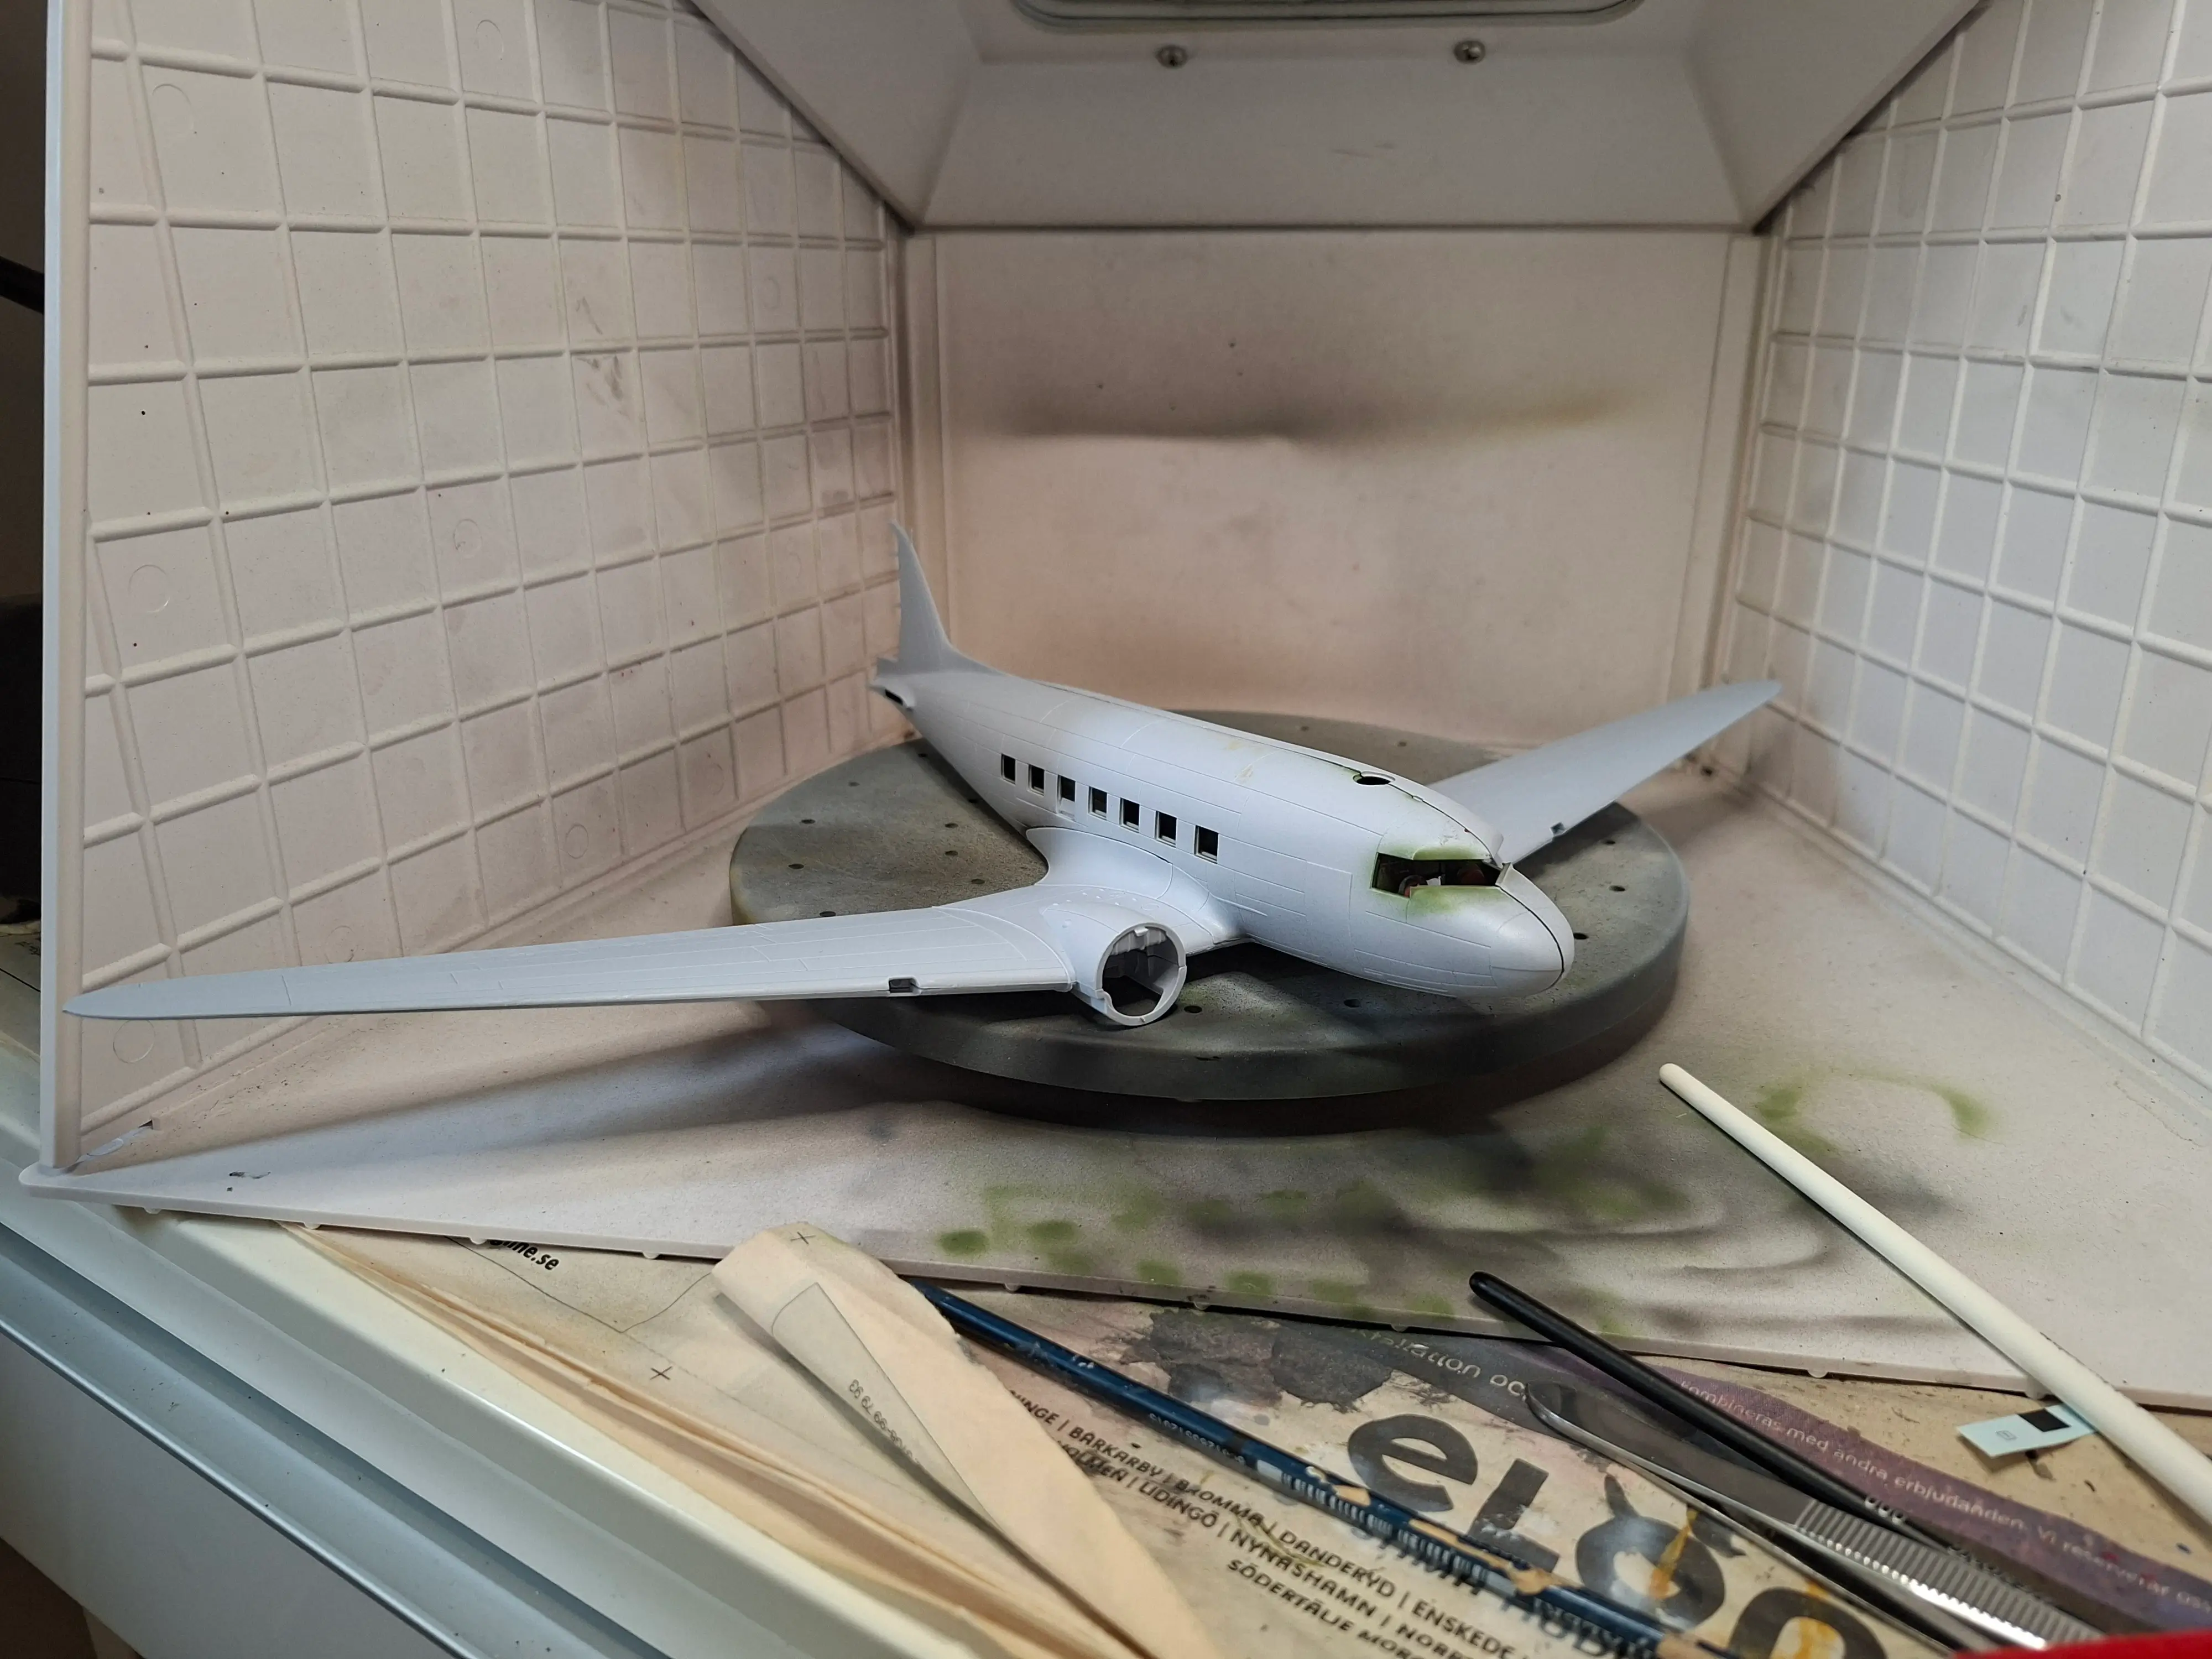
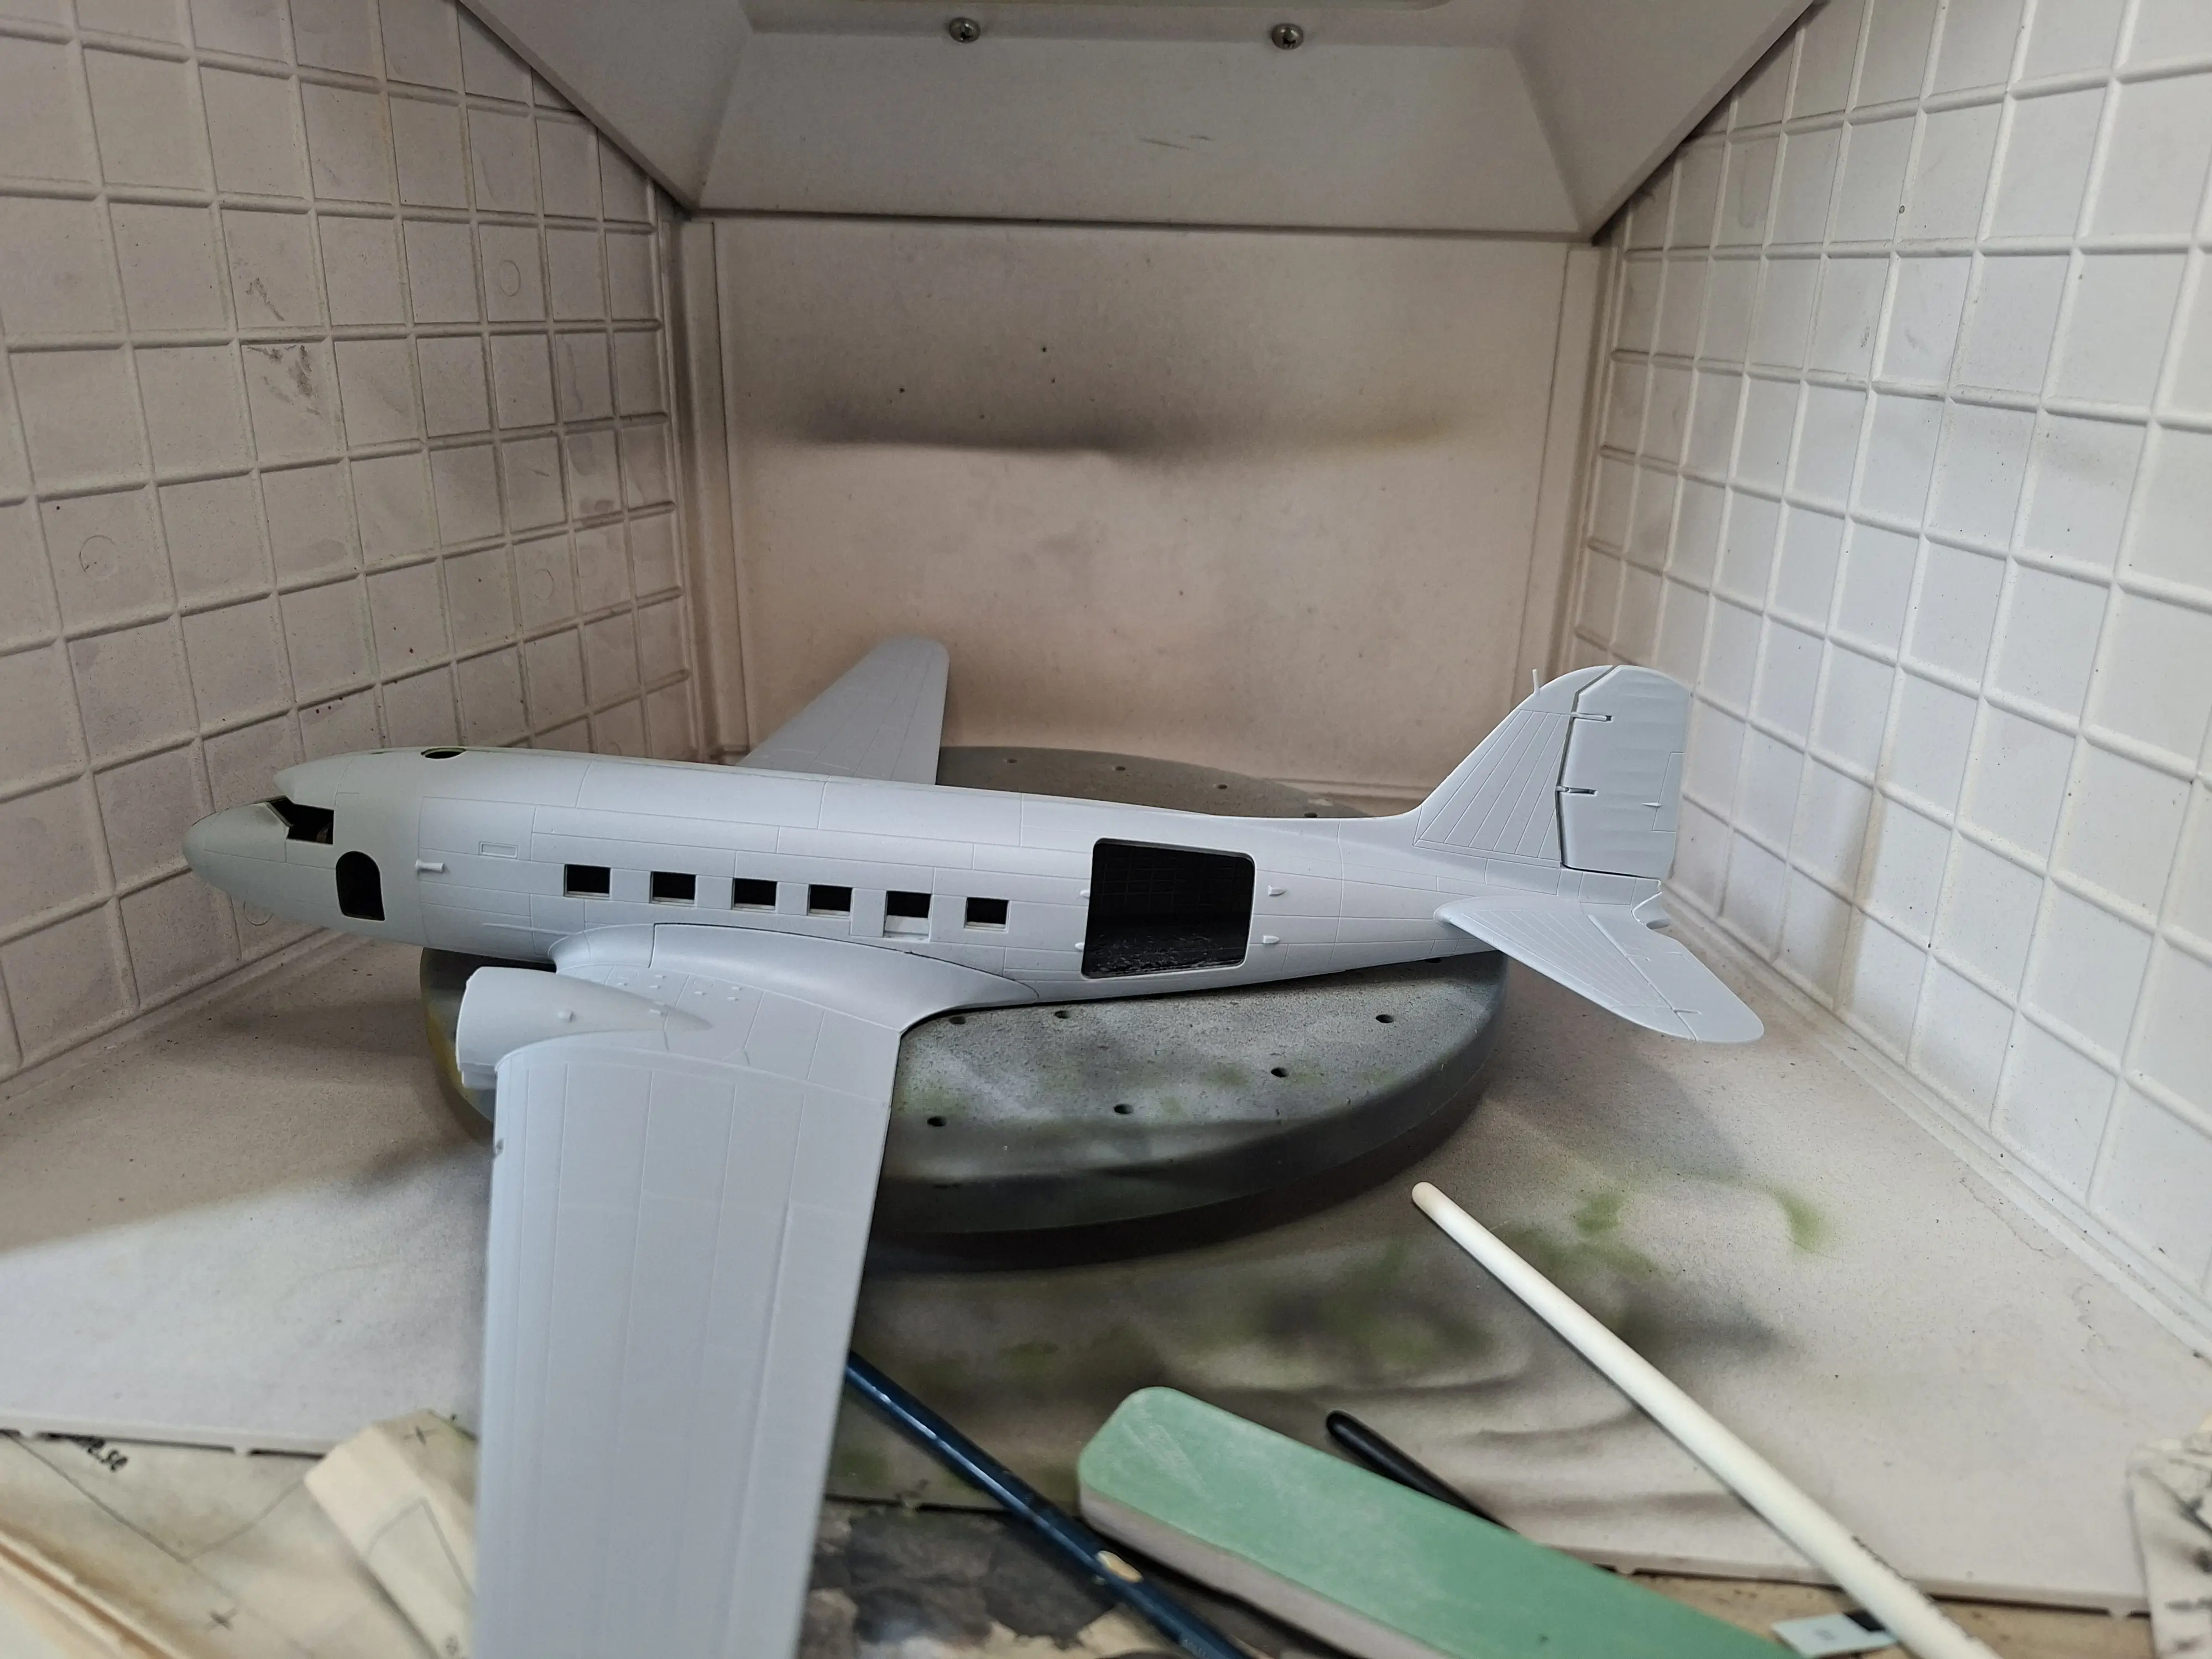
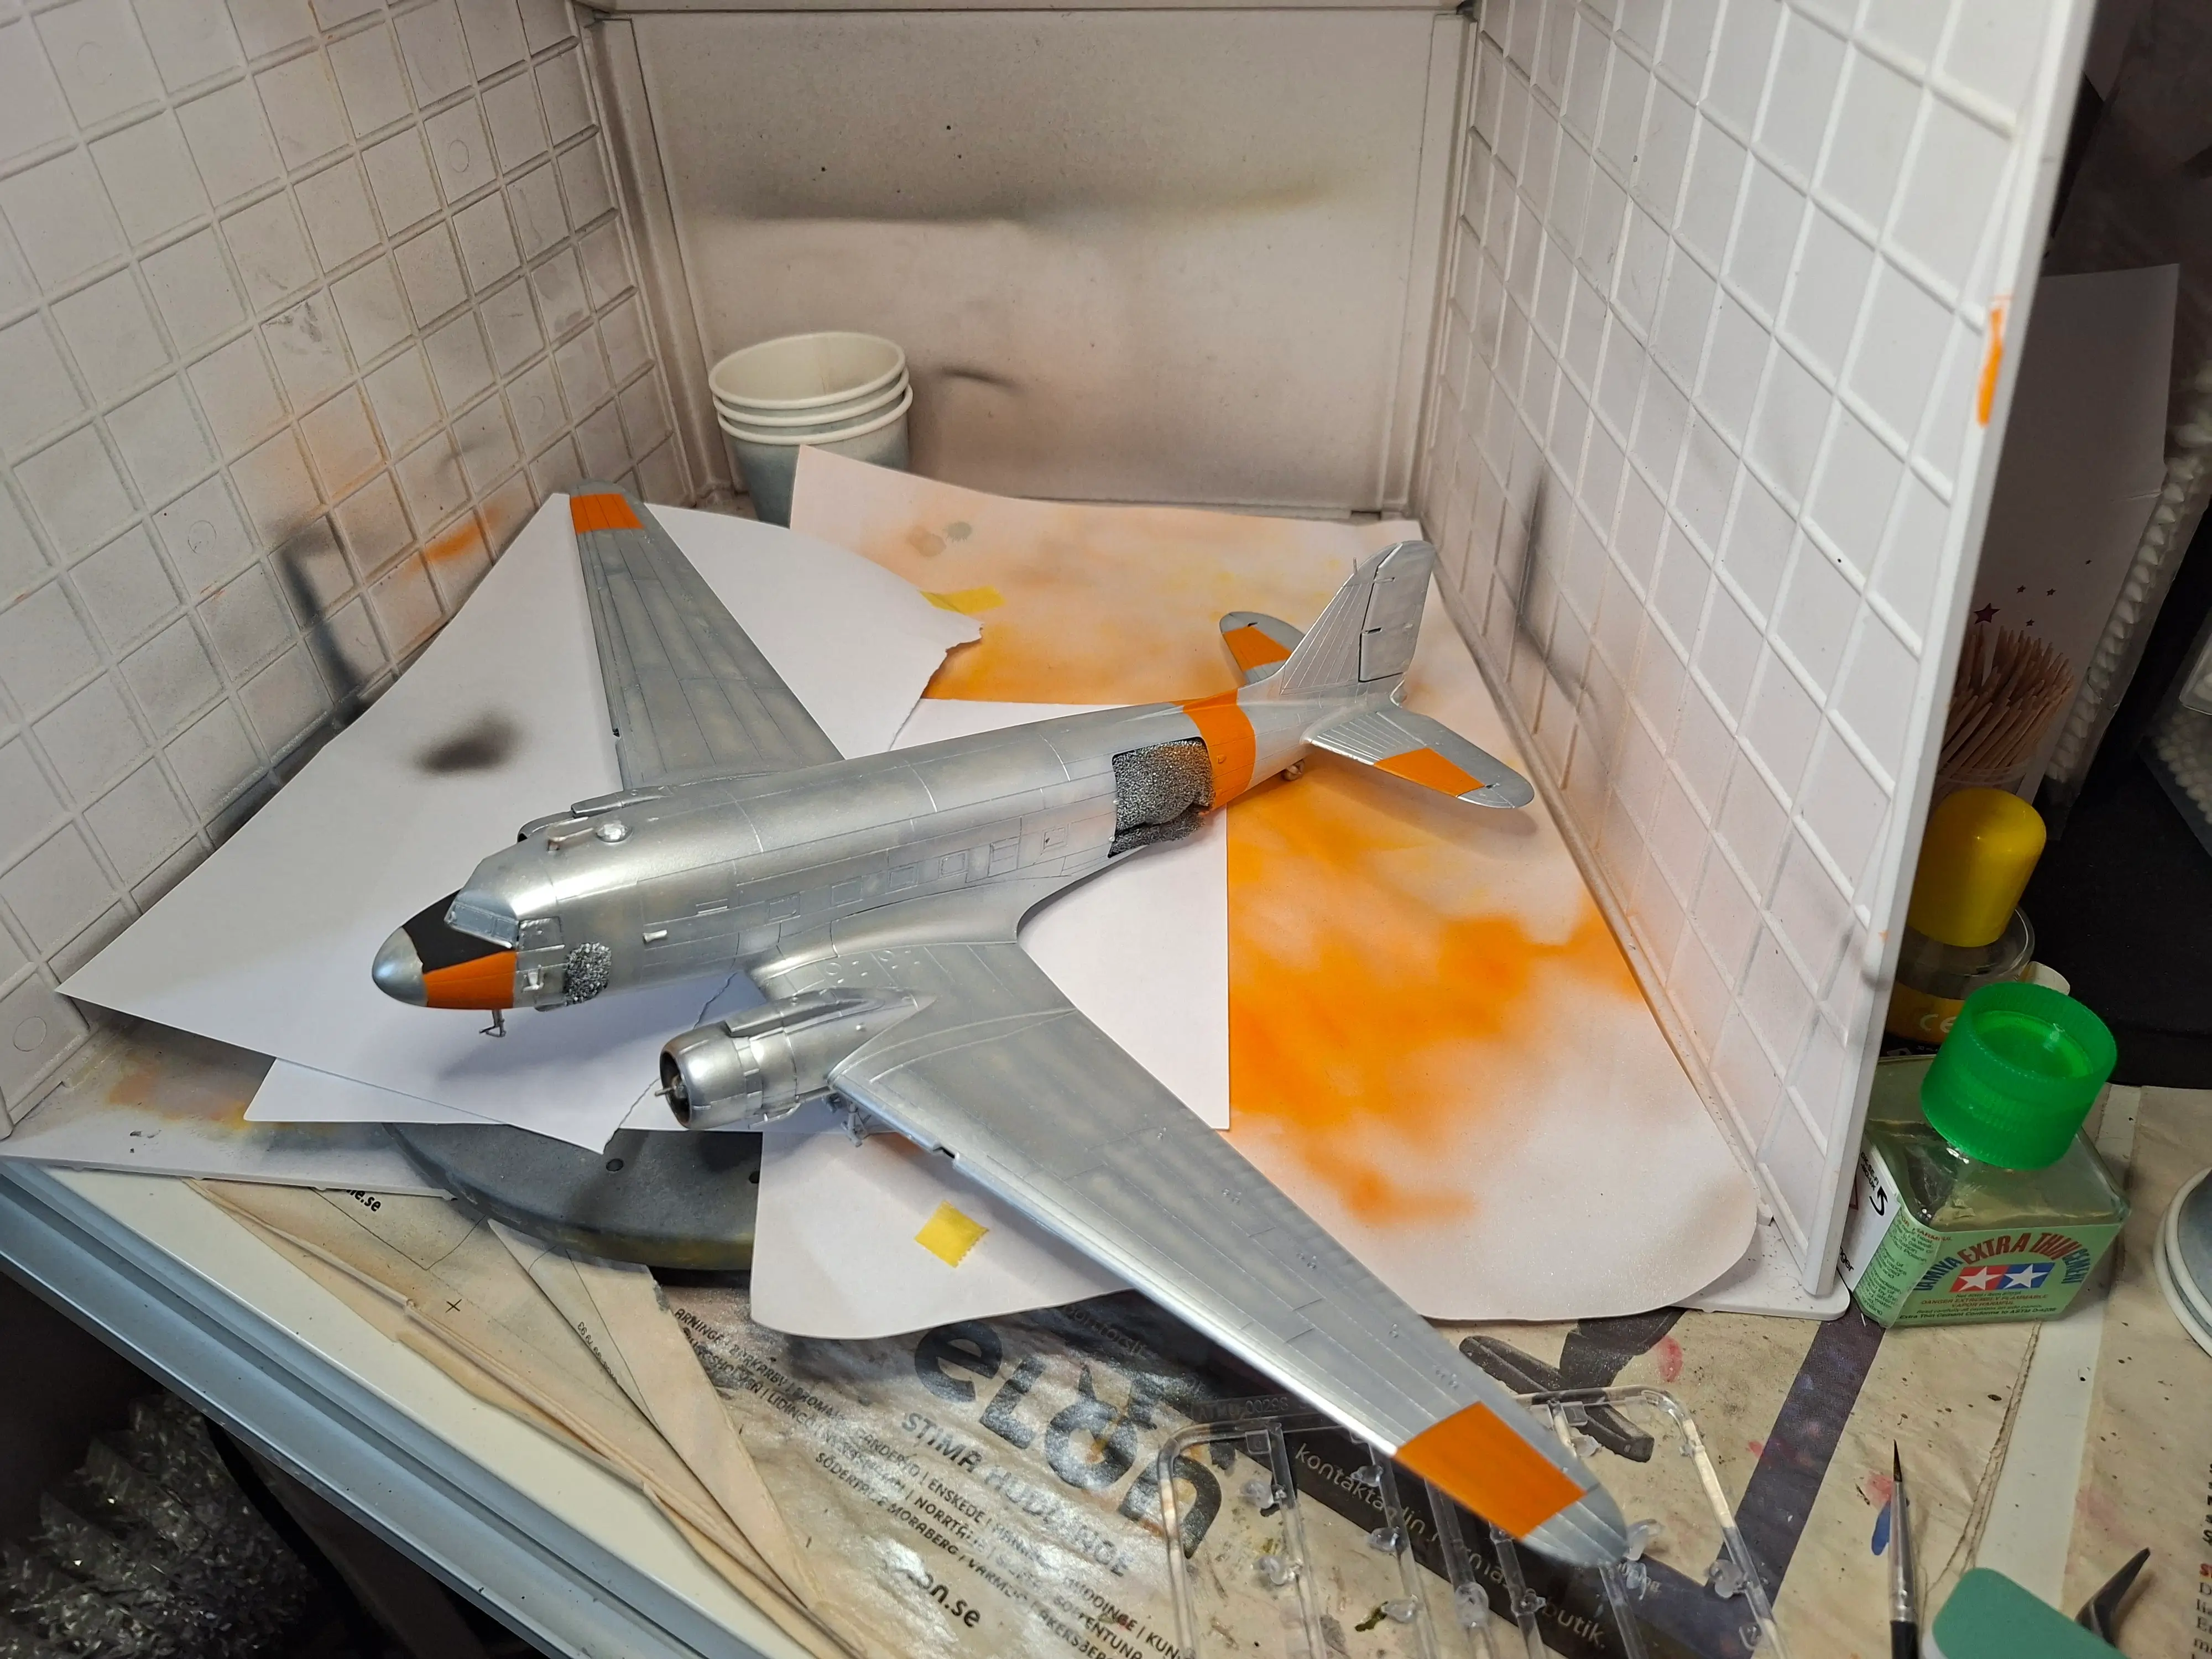
- Black base and preshade the body, a sort of inverted preshading step where instead of picking out panel lines with black paint, I paint the flat areas (mostly panels in this case) light. I painted most panels with a white paint, then picked some of the rest at random to paint with a very light sky blue and an orange. The color variation did not show up very, if at all, in the final paint job. I will try again but with stronger colors for some more variation.
- Paint the body
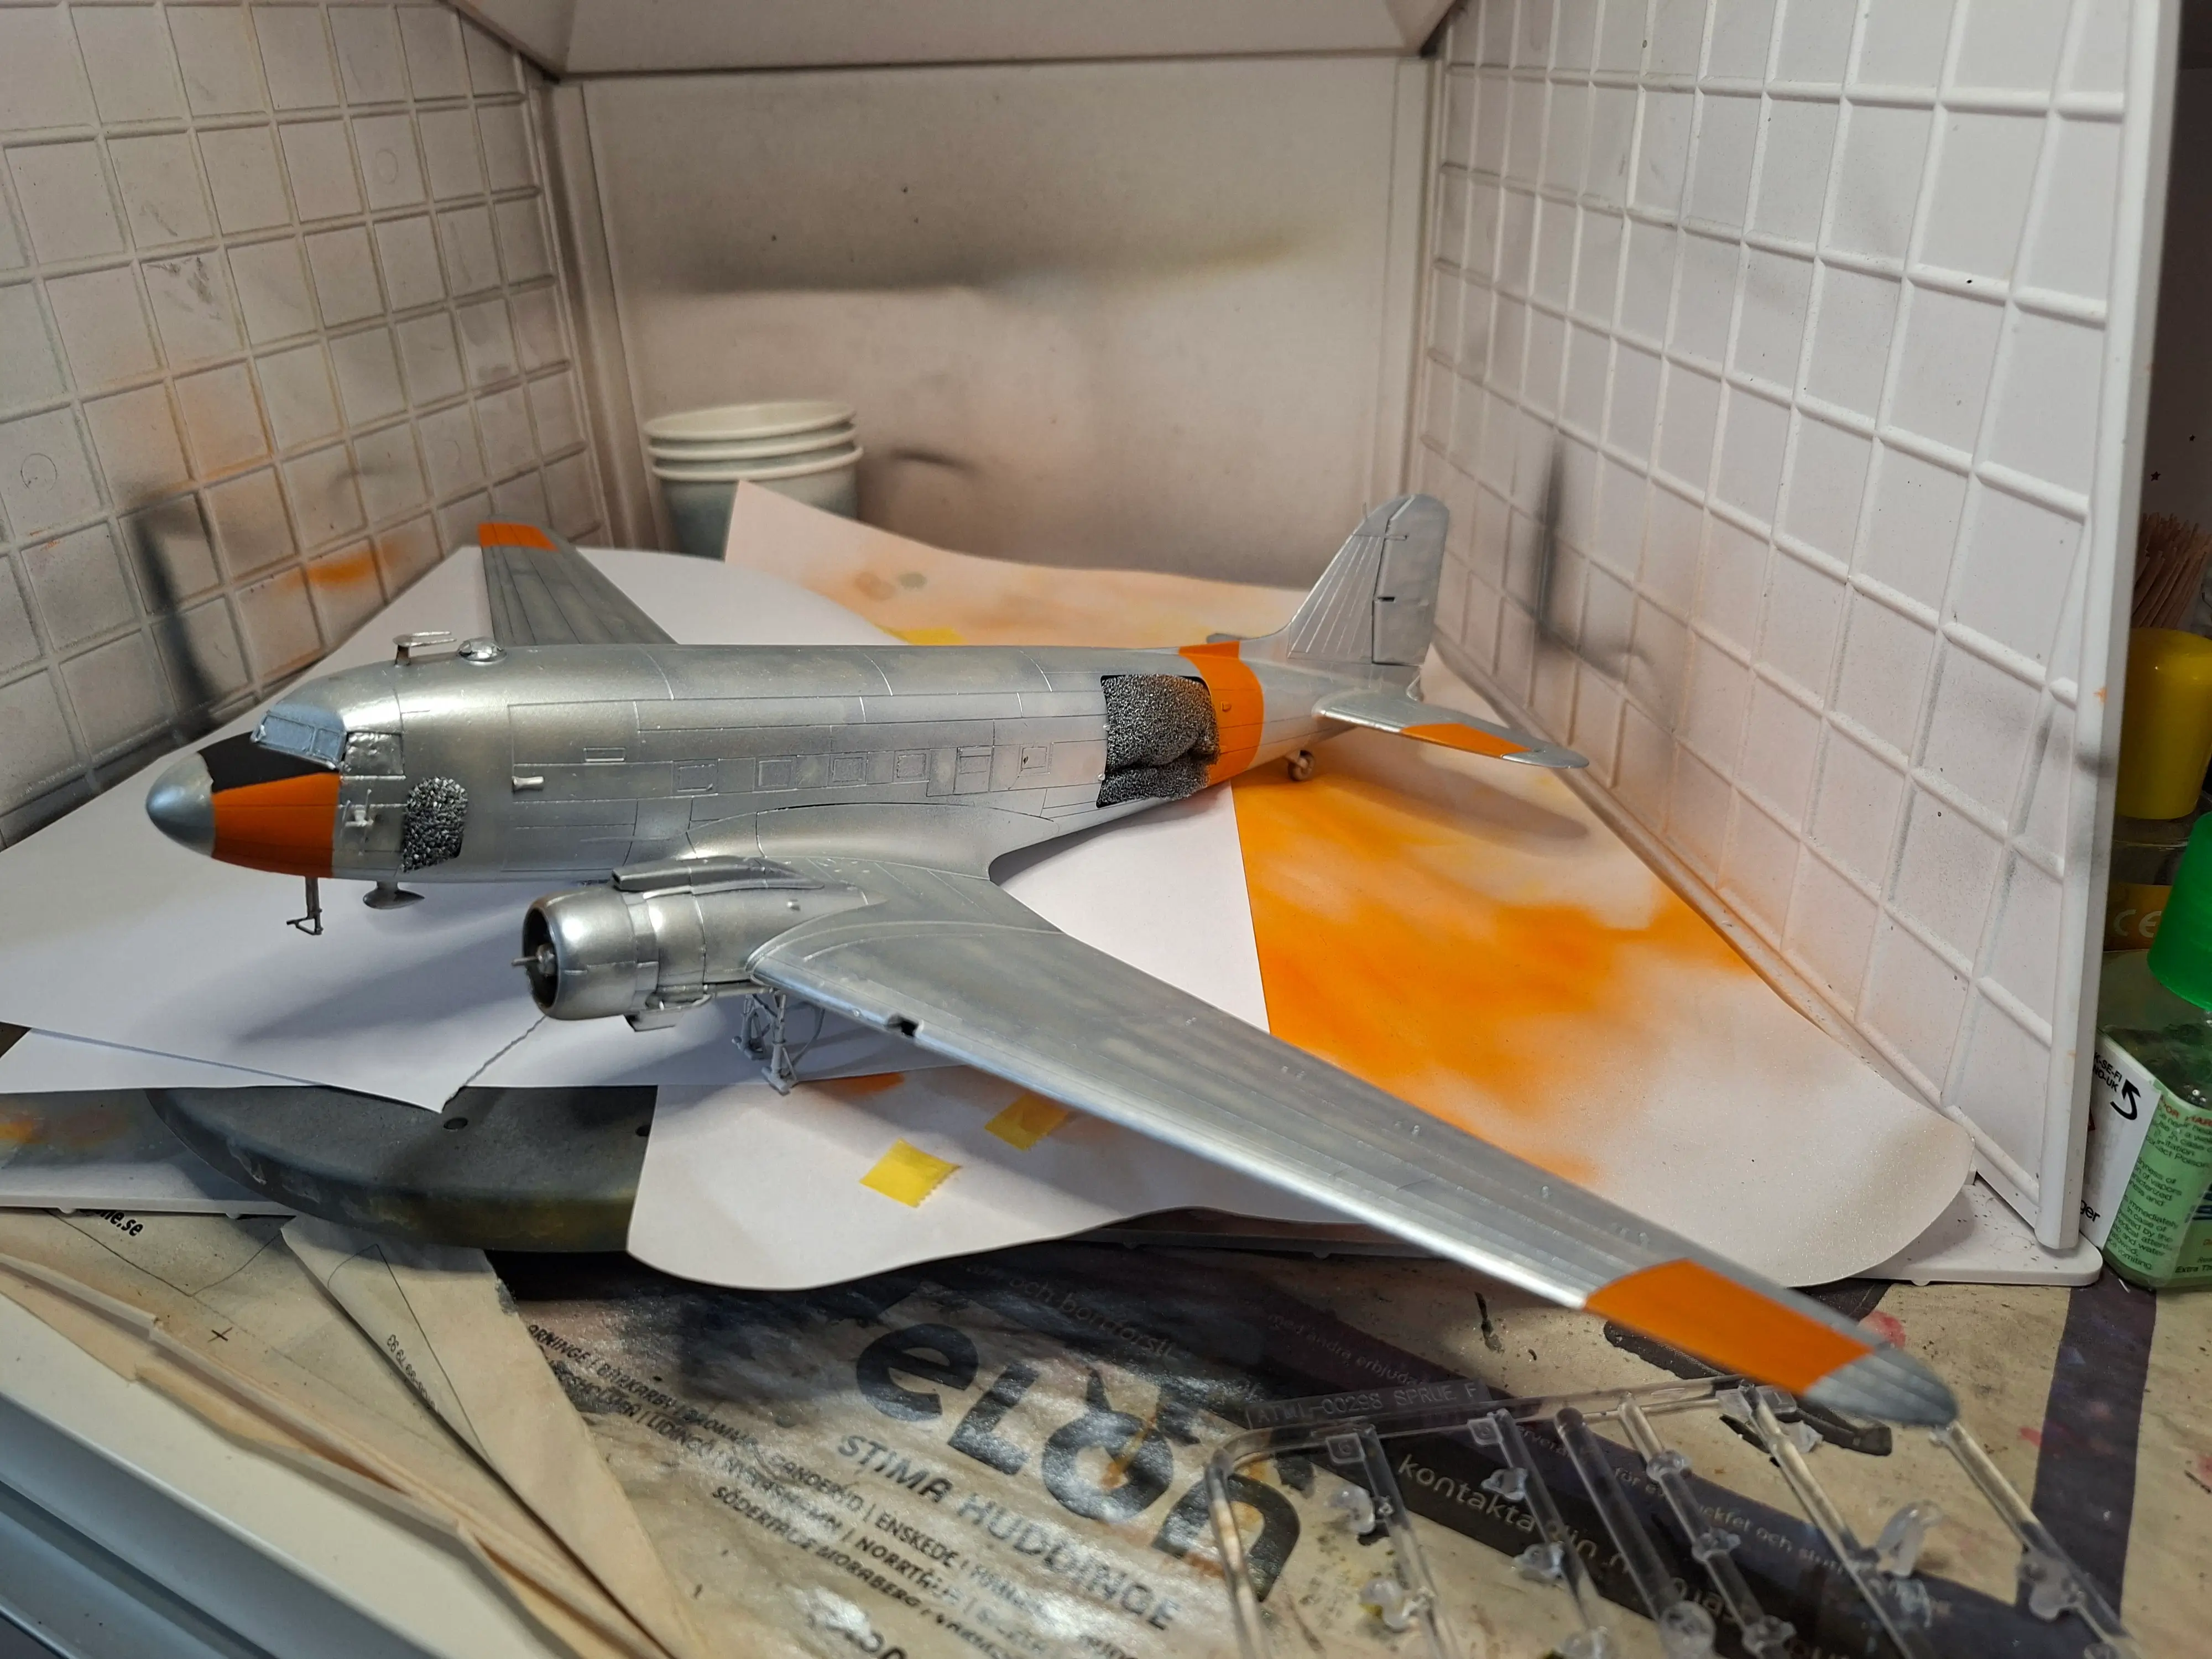
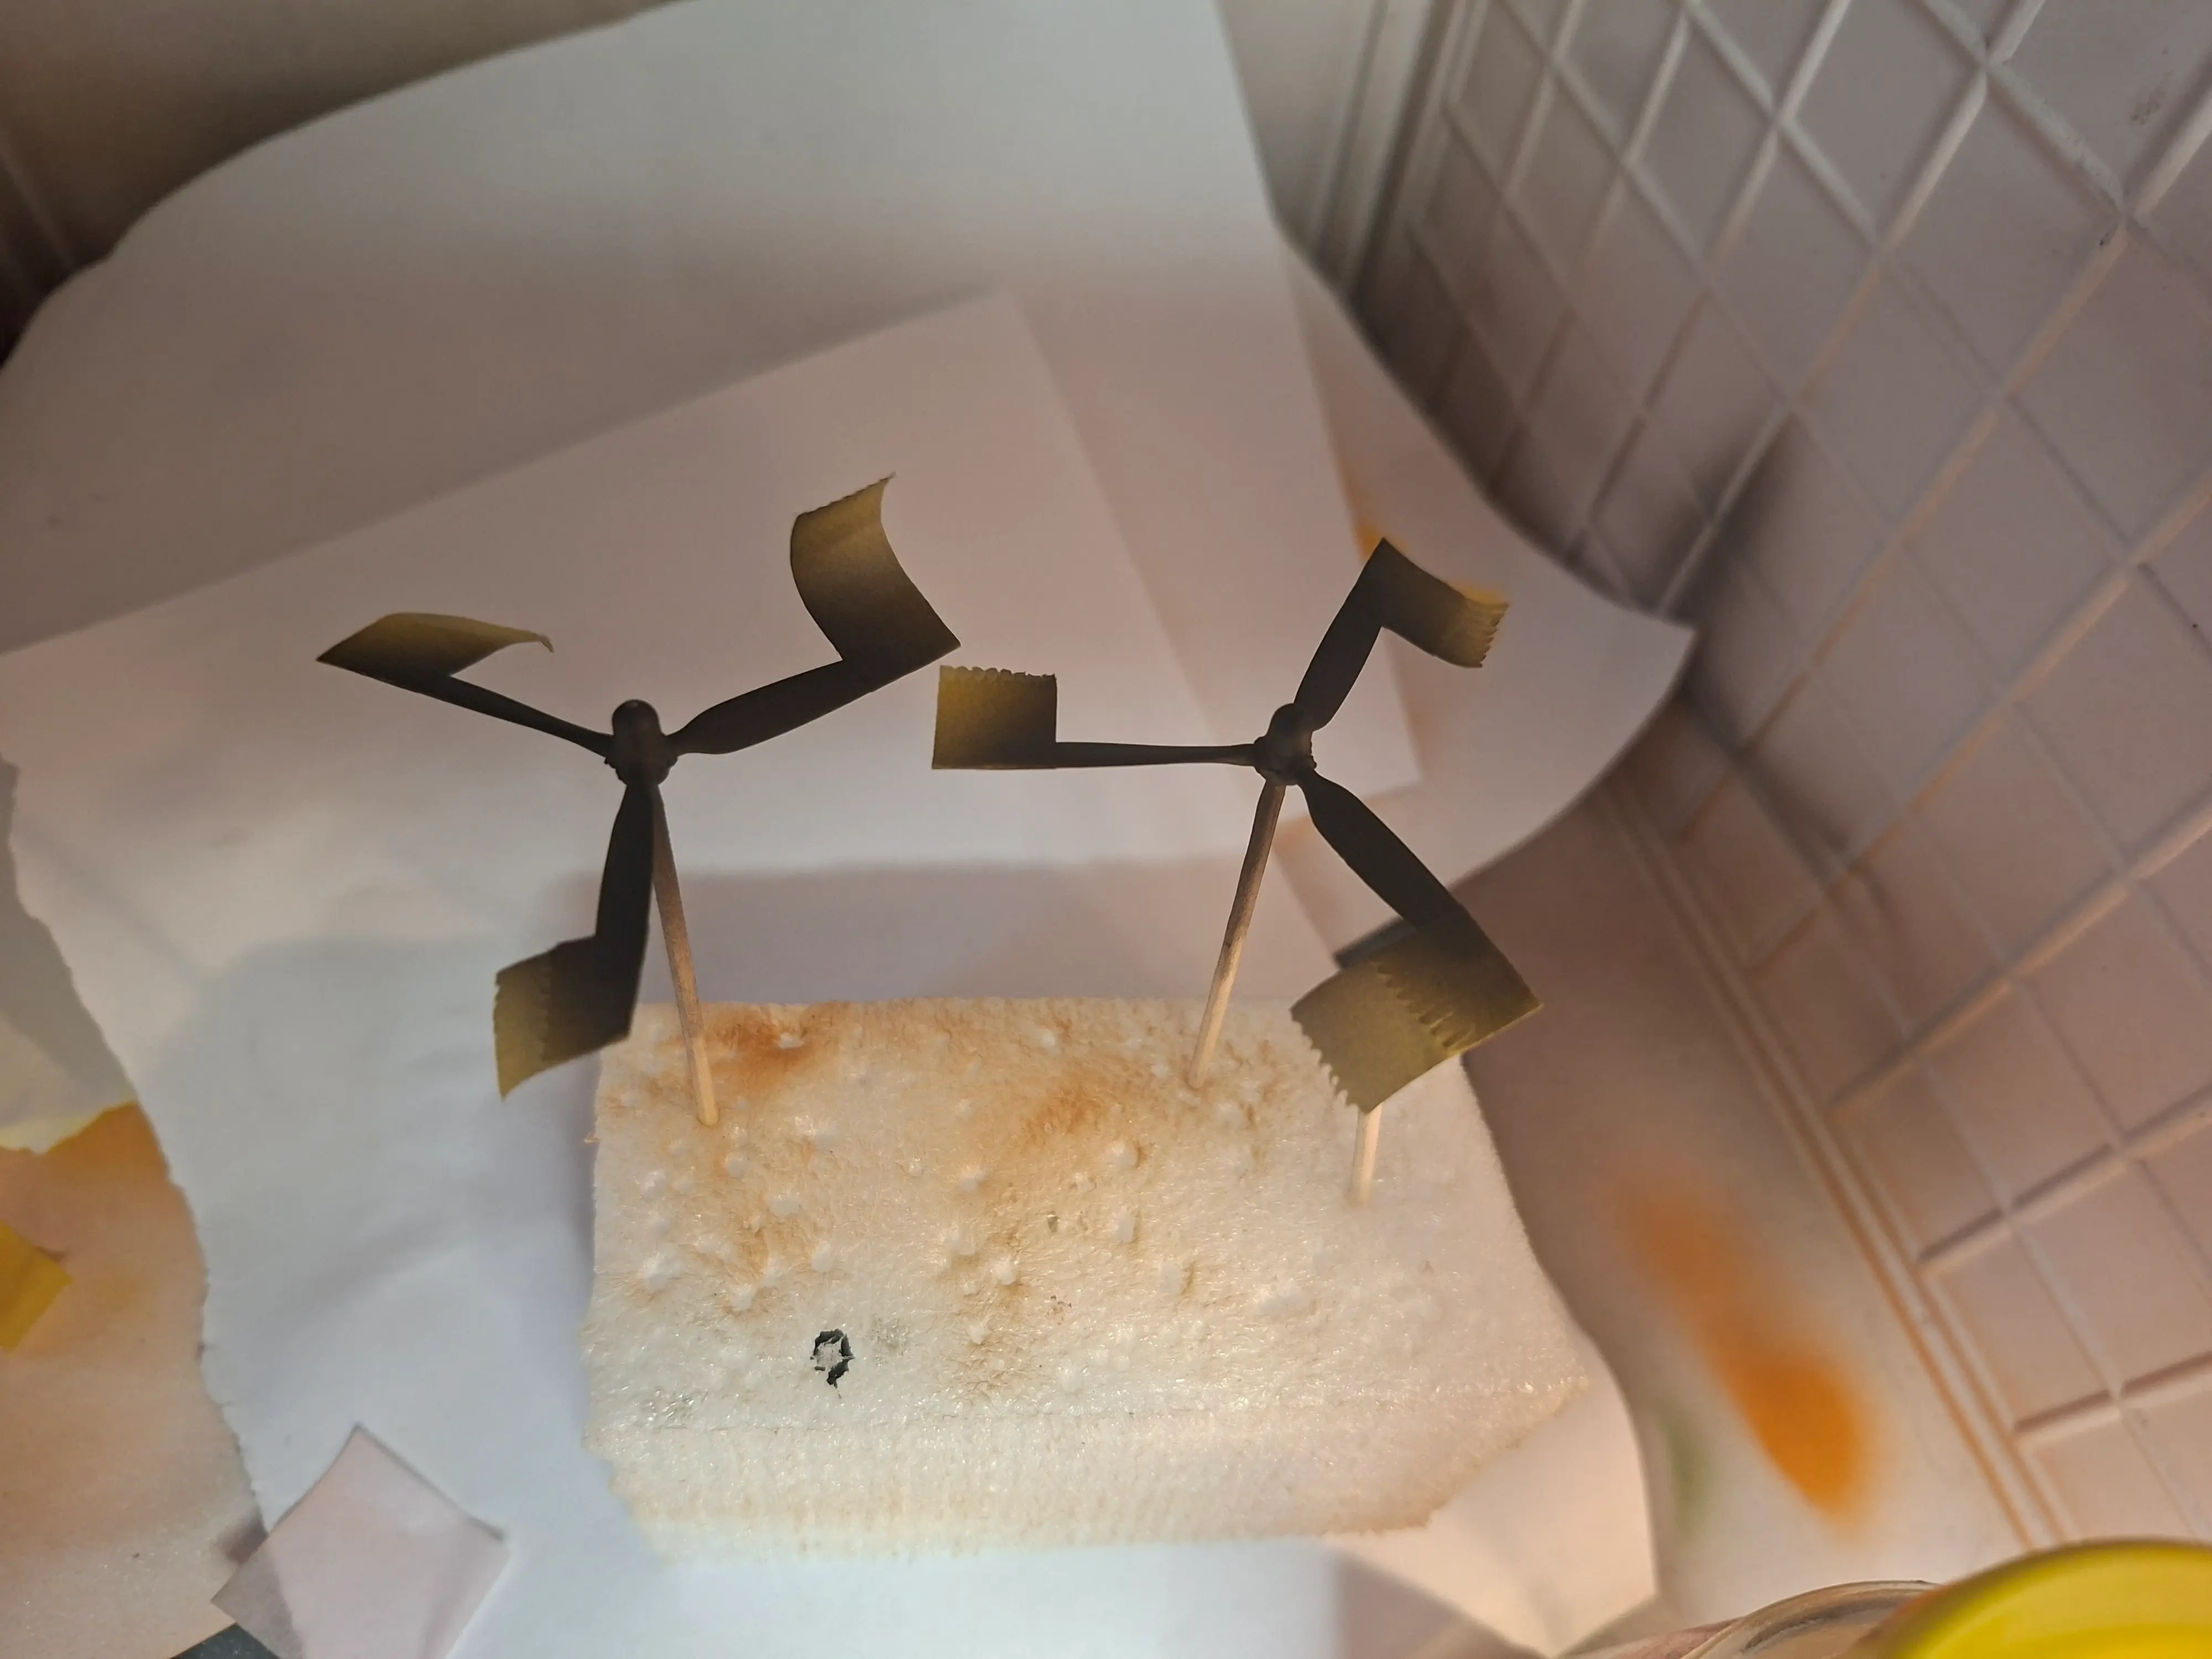
- Finish and paint the other parts - gear, doors etc.
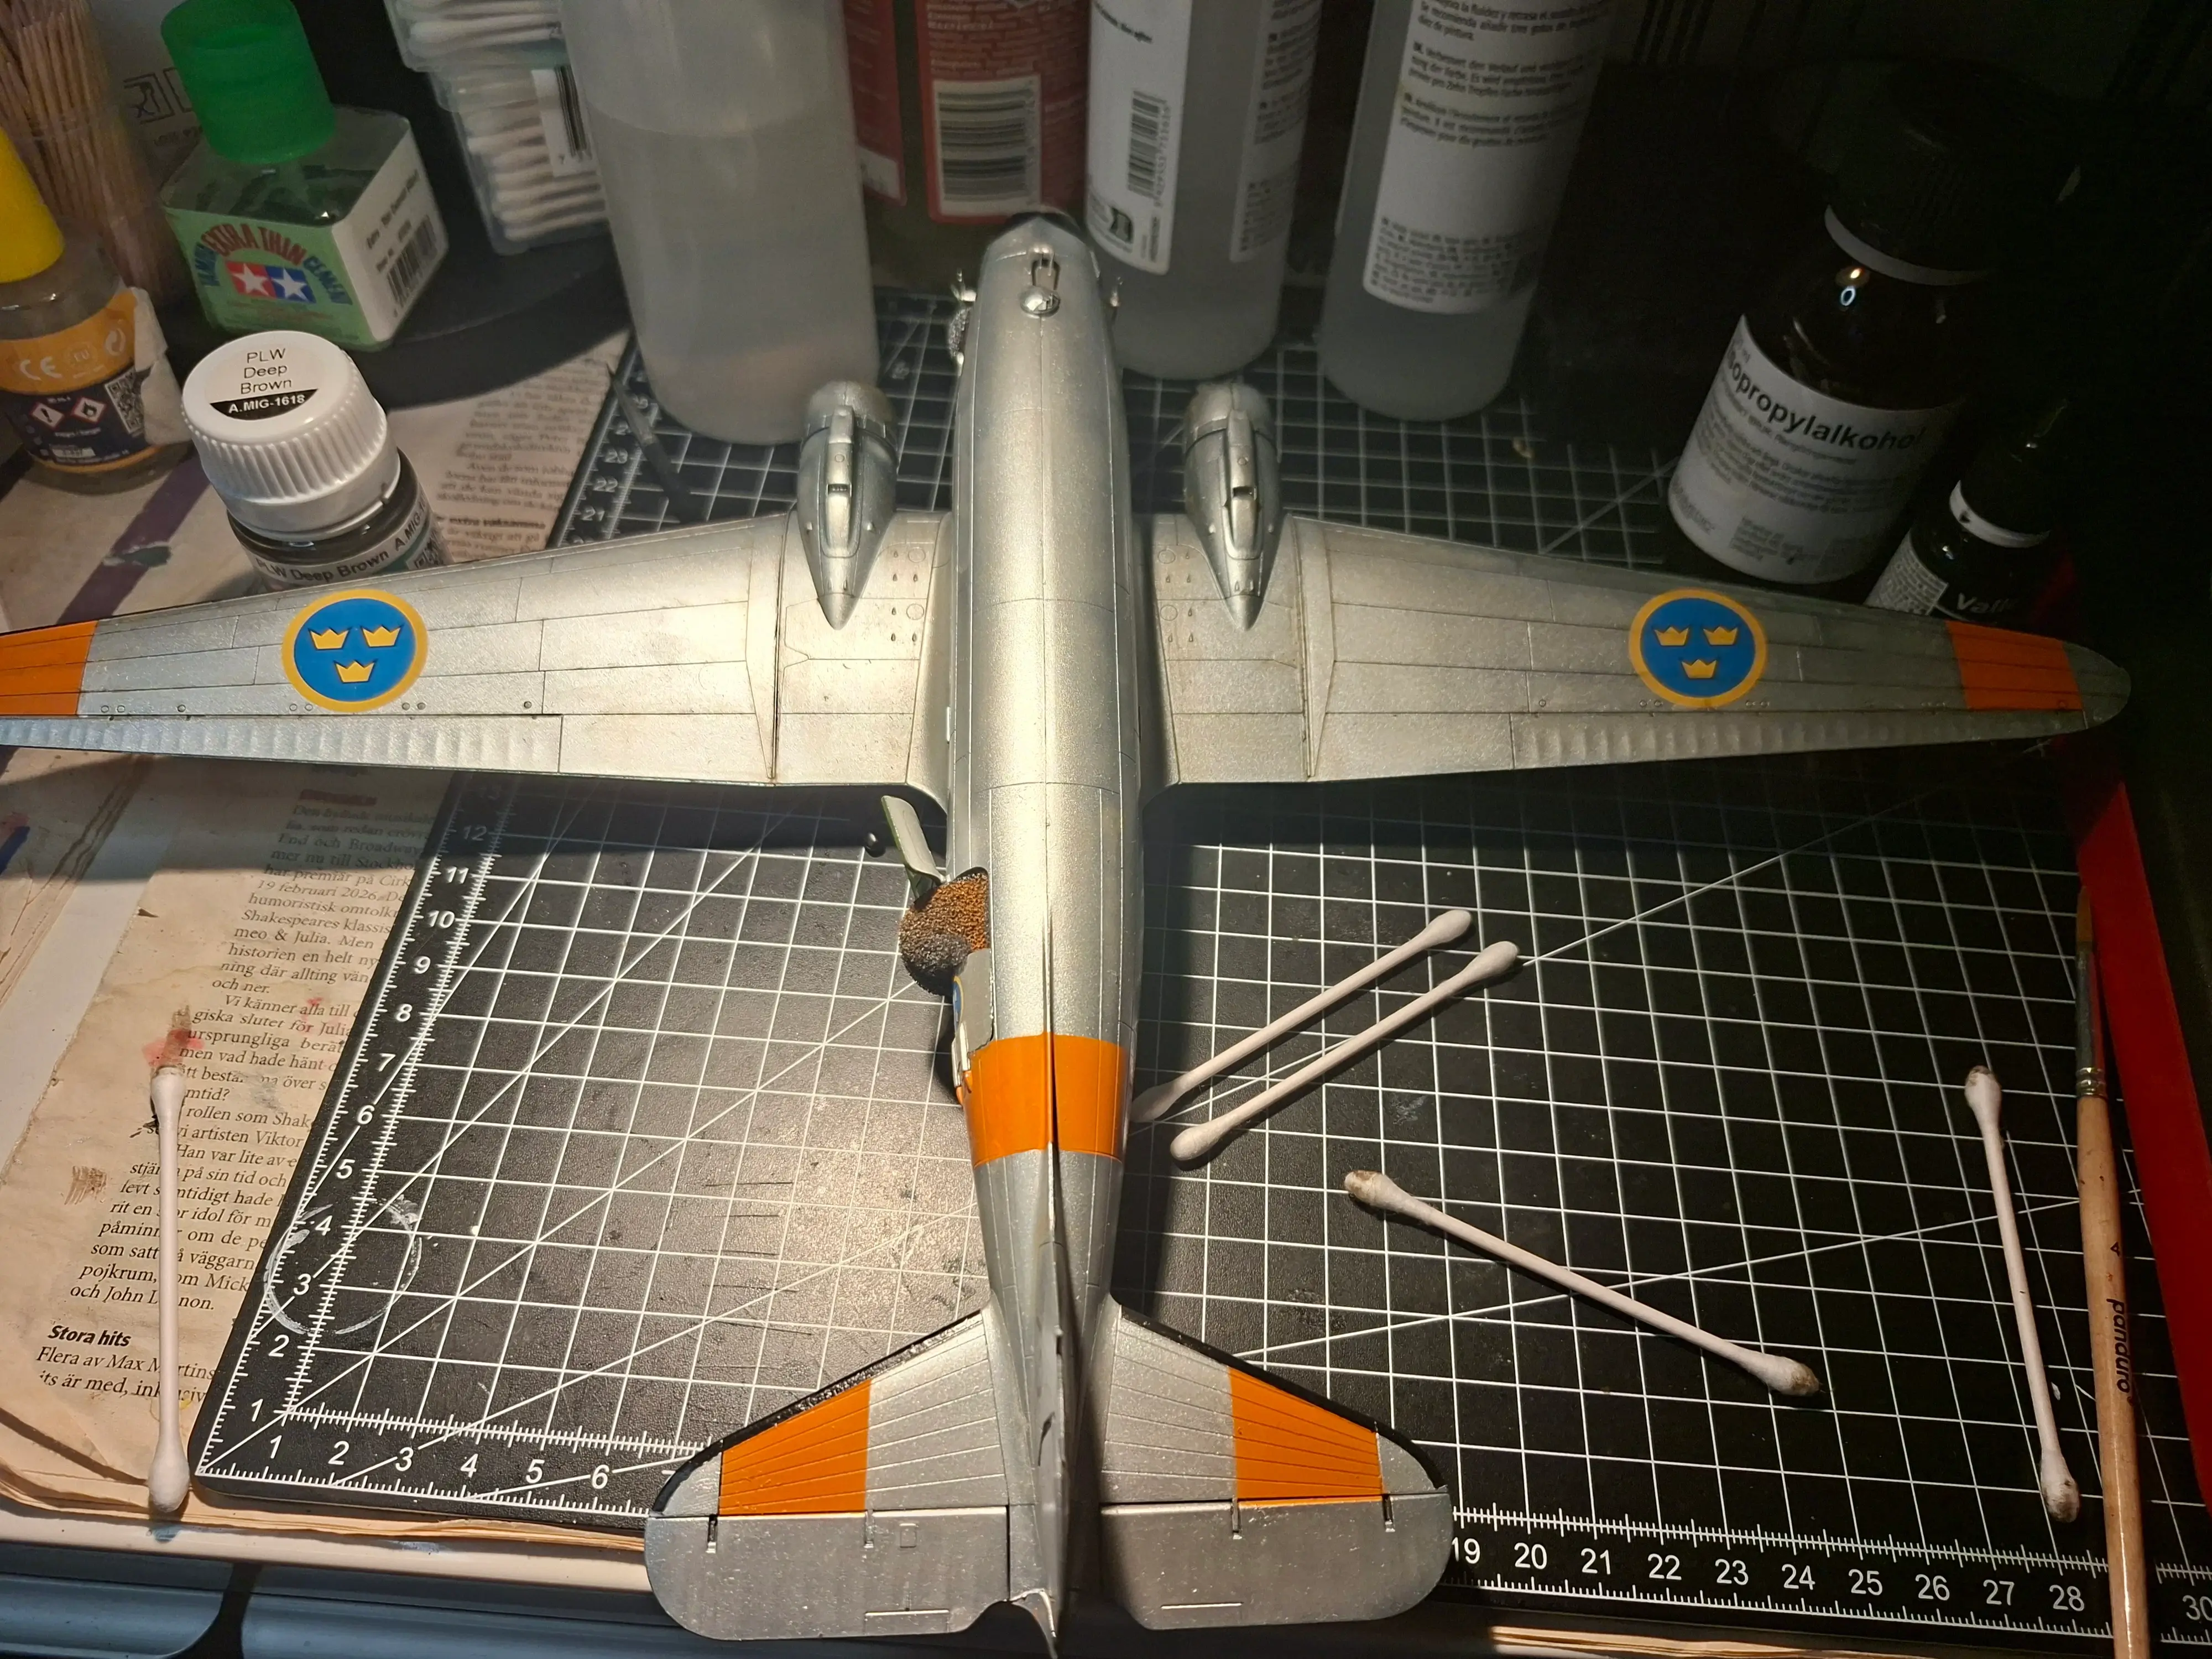
- Assemble and spray 1 layer gloss coat. I decided to keep the front door, and one of the main doors open. Initially I had planned to have both of the main doors open, but I thought it would be more interesting to keep one of them closed.
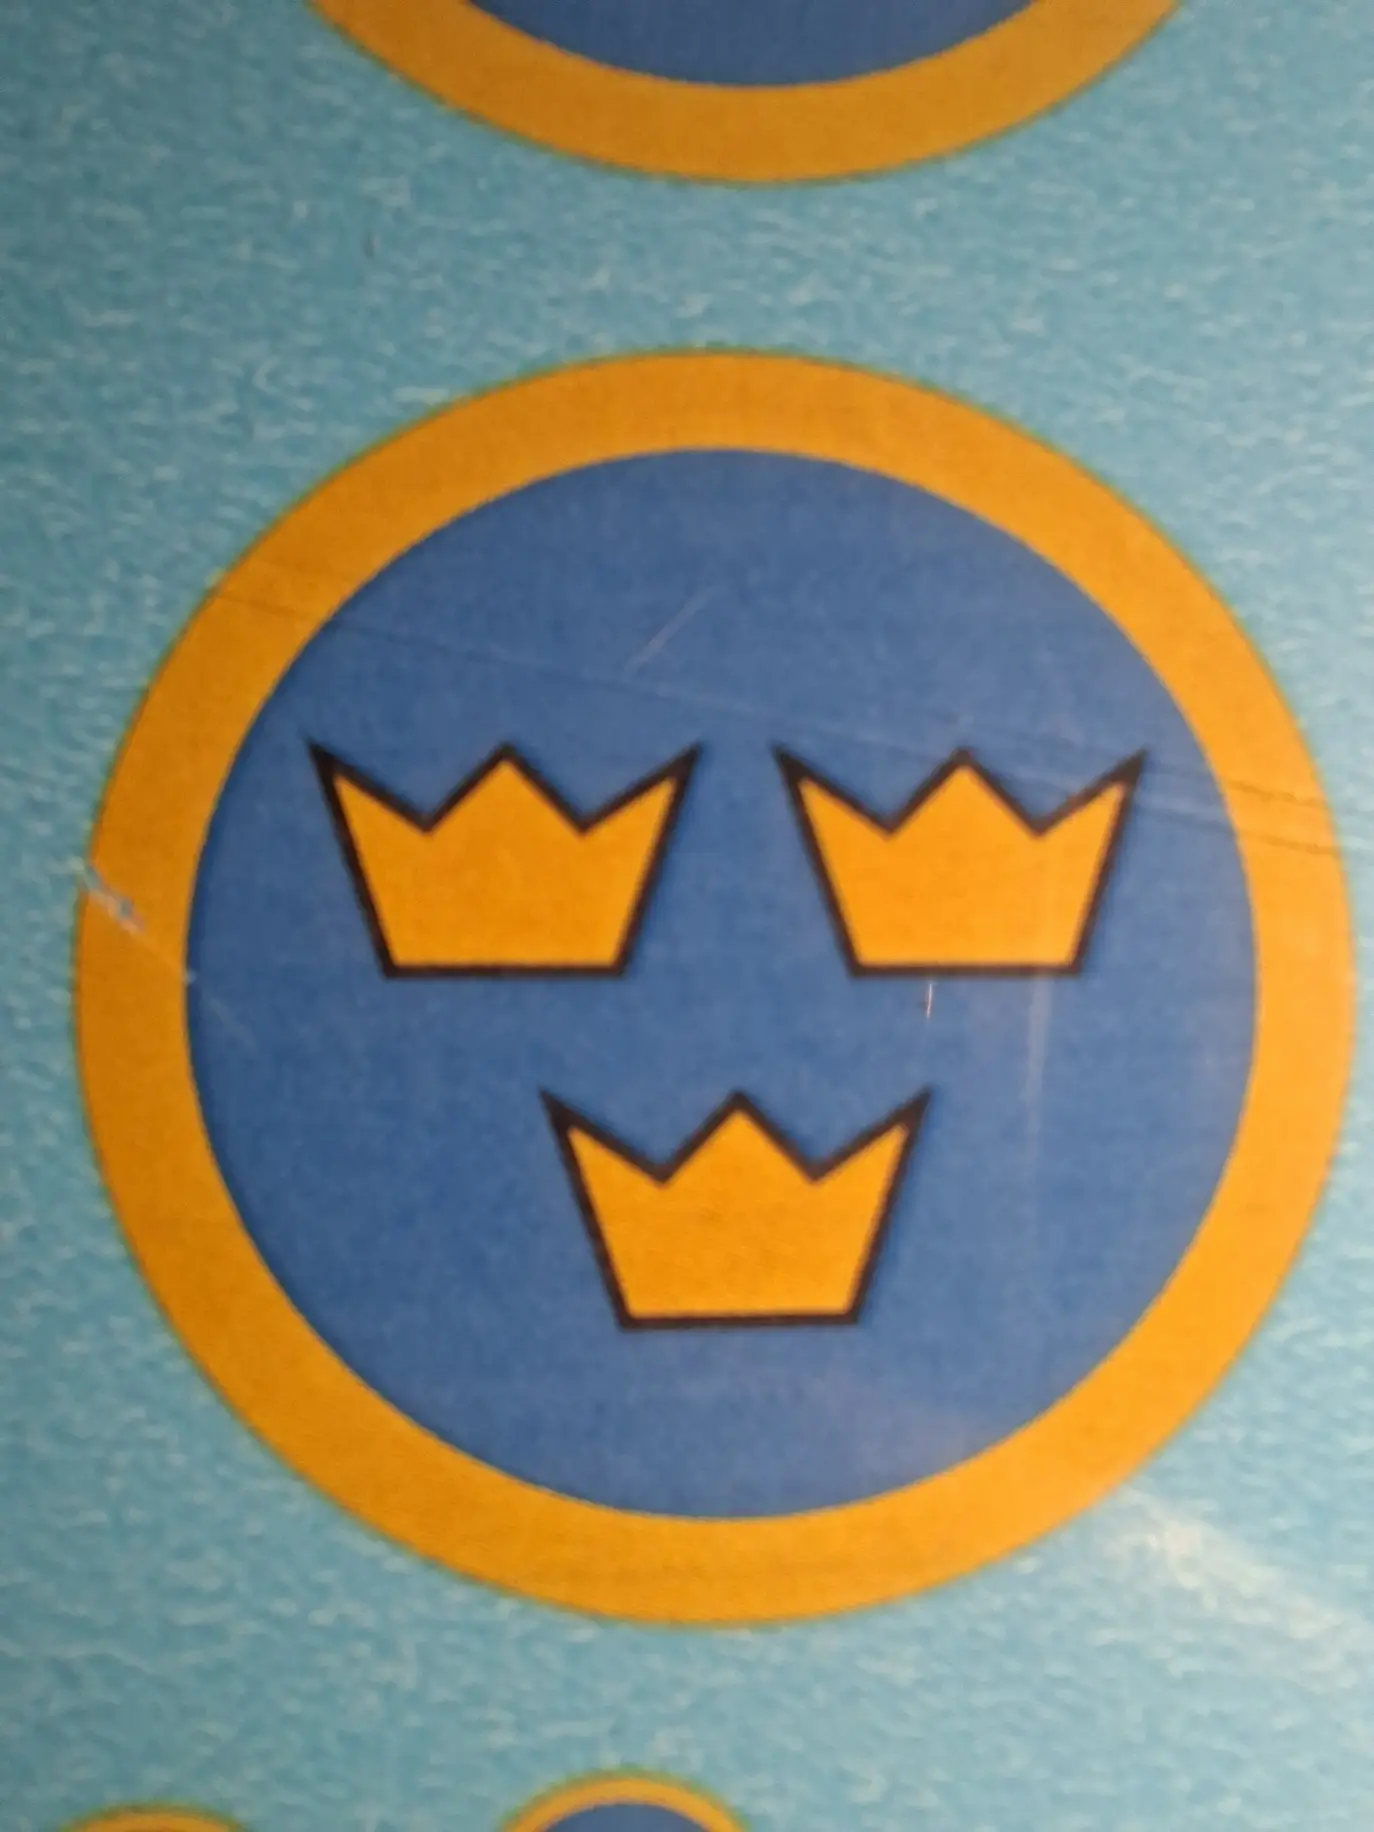
- Add decals. The swedish AF roundels are from Maestro Decals (MMD7220) and the numbers from FCA Decals (48-002). The roundels are unfortunately not great. They ripped easily and the print quality looked as if it was printed on an inkjet, with spotty color coverage in the filled areas. Below is an attached image, of not fantastic quality, of the largest roundel in the set - 1800mm which I used for the wings. As you might see, the blue is sort of noisy in it’s color coverage.
- More gloss coat
- Weather
- Matte coat
- Attach the landing light clear plastic
- Finish 😊